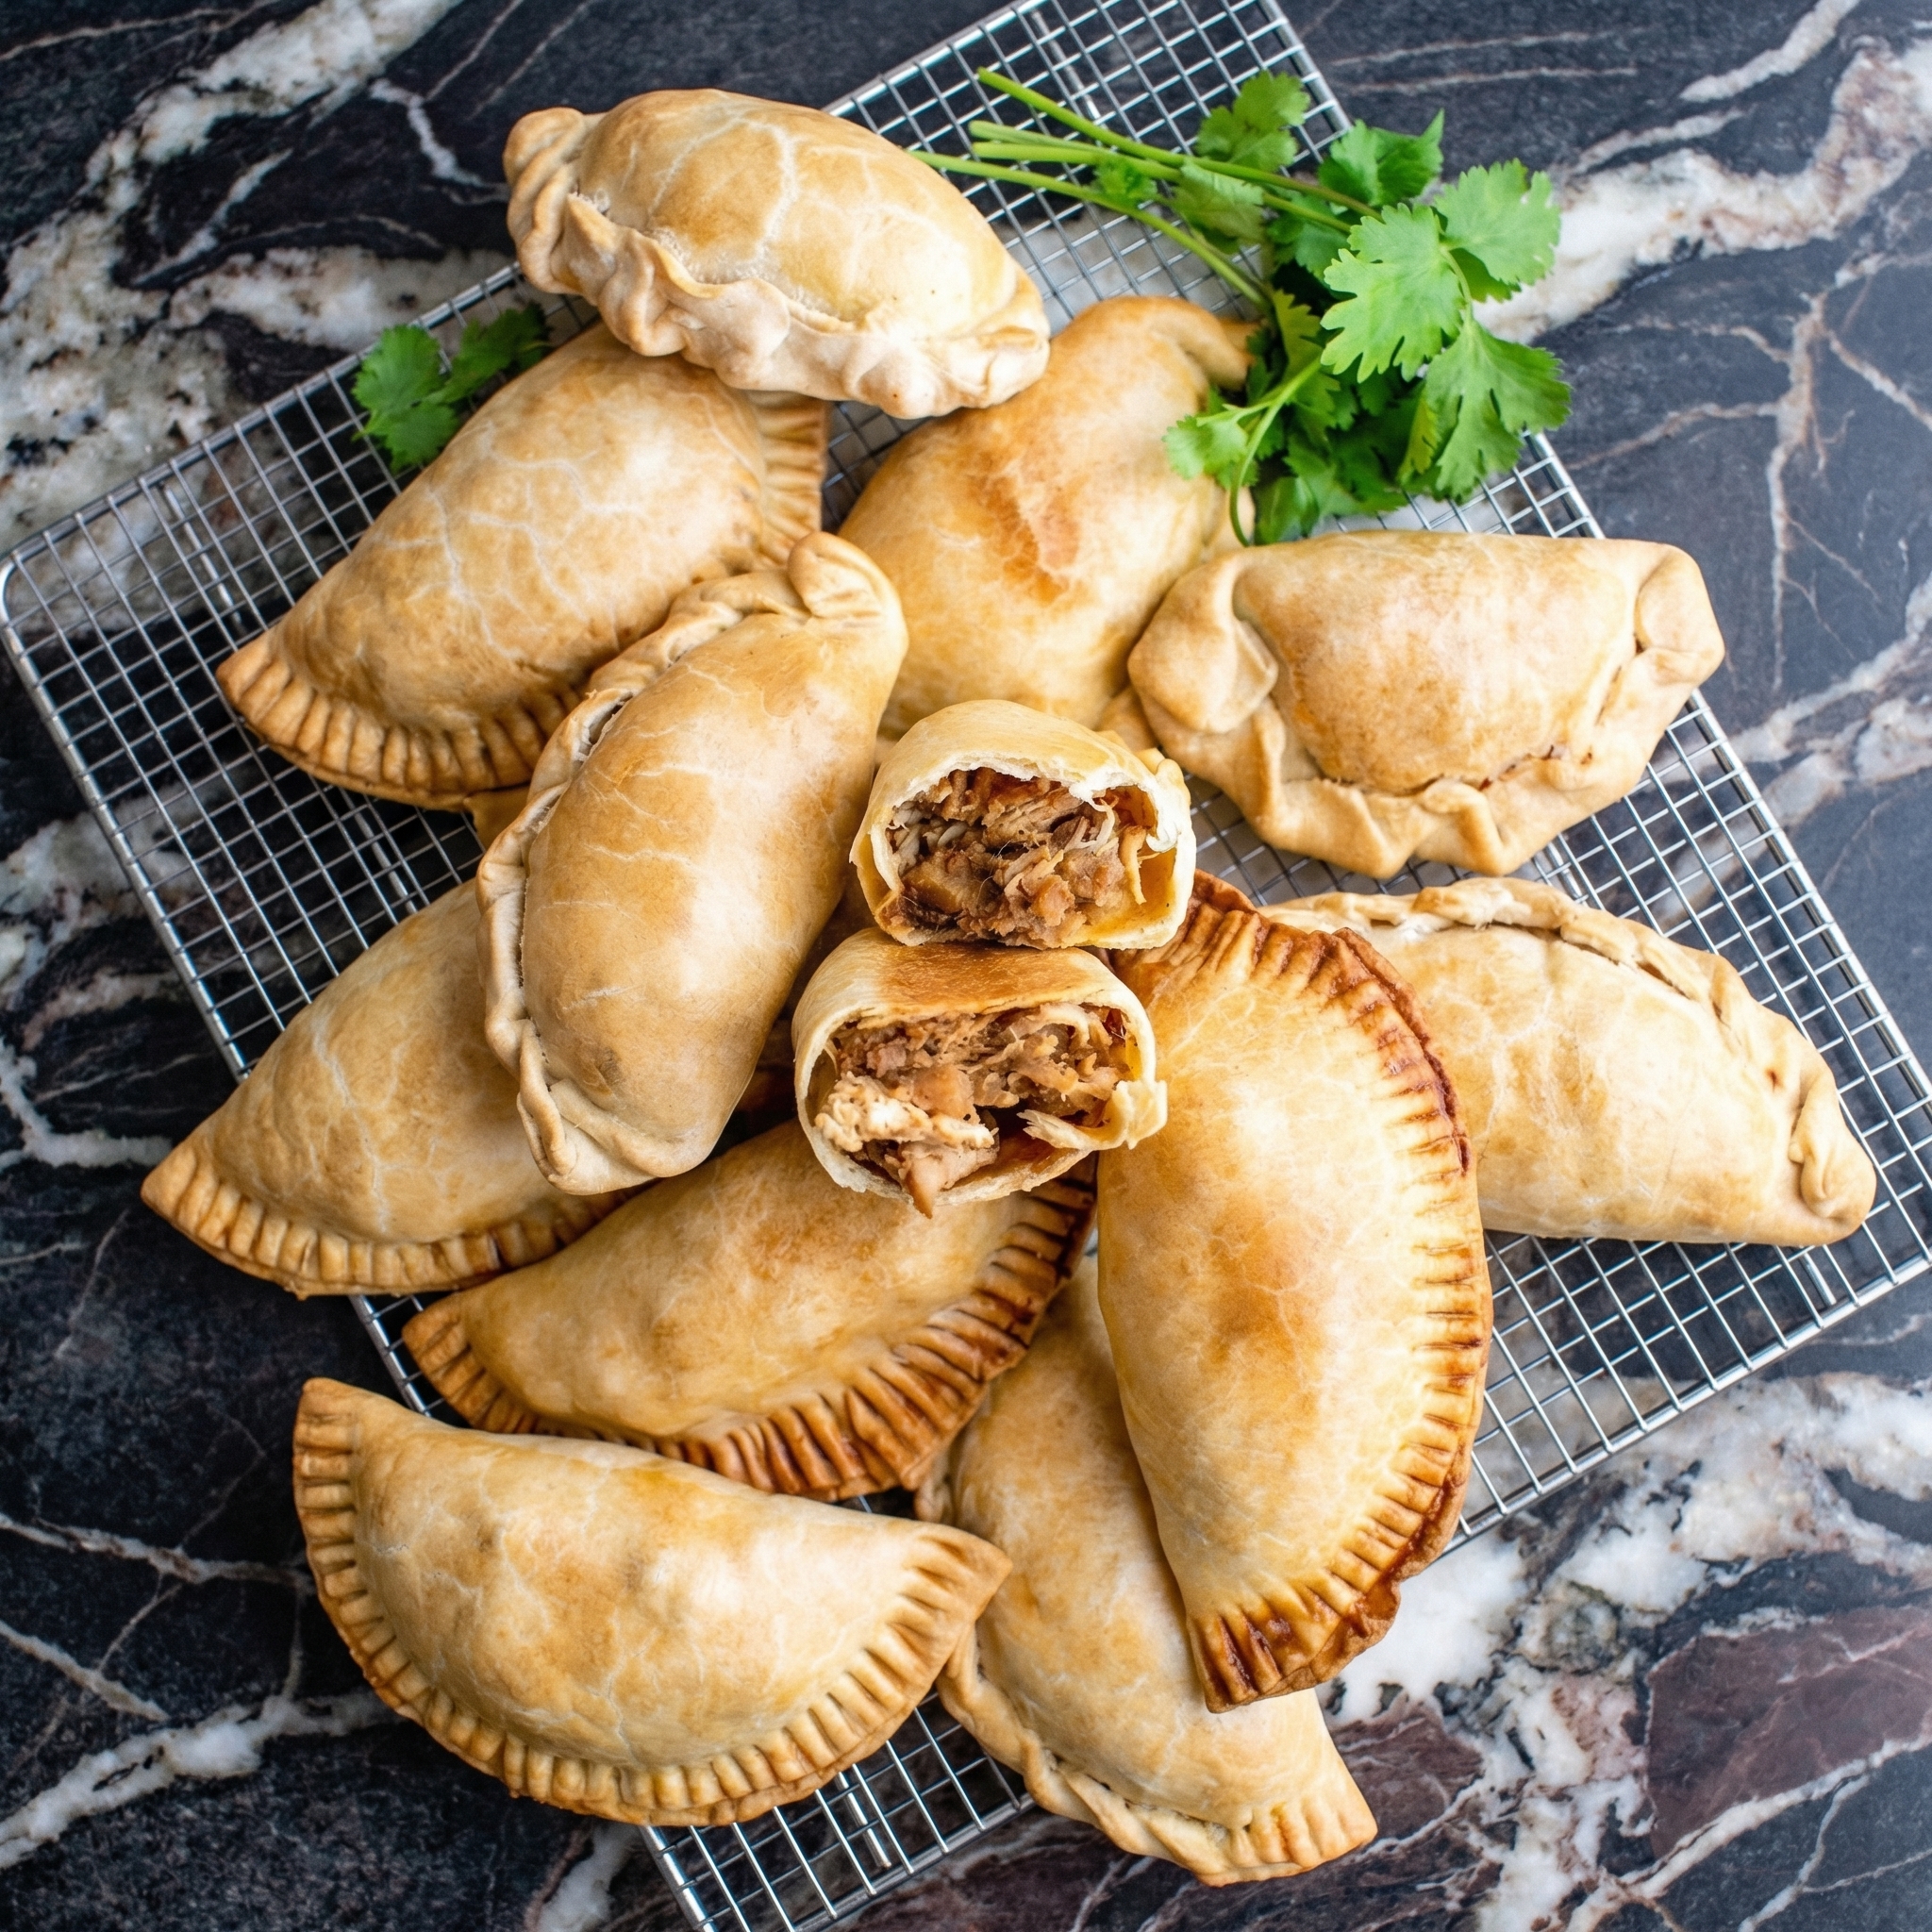
Capture the essence of classic apple pie in a perfectly portable, personal package. These Apple Hand Pies feature a tender, flaky homemade crust wrapped around a simple, warmly spiced apple filling. They’re endlessly versatile—enjoy them warm for dessert, pack them in a lunchbox, or take them on a fall picnic.
While using store-bought pie dough is a great shortcut, this recipe includes a simple from-scratch crust that’s surprisingly easy and yields a superior, buttery result. With a sprinkle of sugar on top and an optional drizzle of glaze, they’re as beautiful as they are delicious.
The Science of the Portable, Flaky Pocket
The success of a great hand pie lies in the balance between a sturdy crust and a moist filling. The crust needs enough structural integrity to hold the filling without leaking or becoming soggy.
This is achieved by using a pie dough with a moderate amount of fat (butter or shortening) that creates flaky layers while still being robust. Pre-cooking the apple filling (or using finely diced apples) reduces excess moisture that would otherwise steam out during baking and weaken the crust.
A tight seal, created by crimping the edges with a fork or by folding, is crucial to contain the filling. Baking at a high initial temperature sets the crust quickly, creating steam from the butter layers for flakiness, while a slightly lower finish allows the filling to bubble and thicken without burning the pastry.
Instructions
The Combined Pie Dough
In a food processor or large bowl, pulse or cut together the flour, sugar, salt, and cold butter until the mixture resembles coarse meal with pea-sized butter pieces. Gradually add ice water, mixing until the dough just holds together when pressed.
The Chilled Dough Disks
Divide the dough in half. Shape each half into a flat disk, wrap tightly in plastic wrap, and refrigerate for at least 1 hour (or up to 2 days).
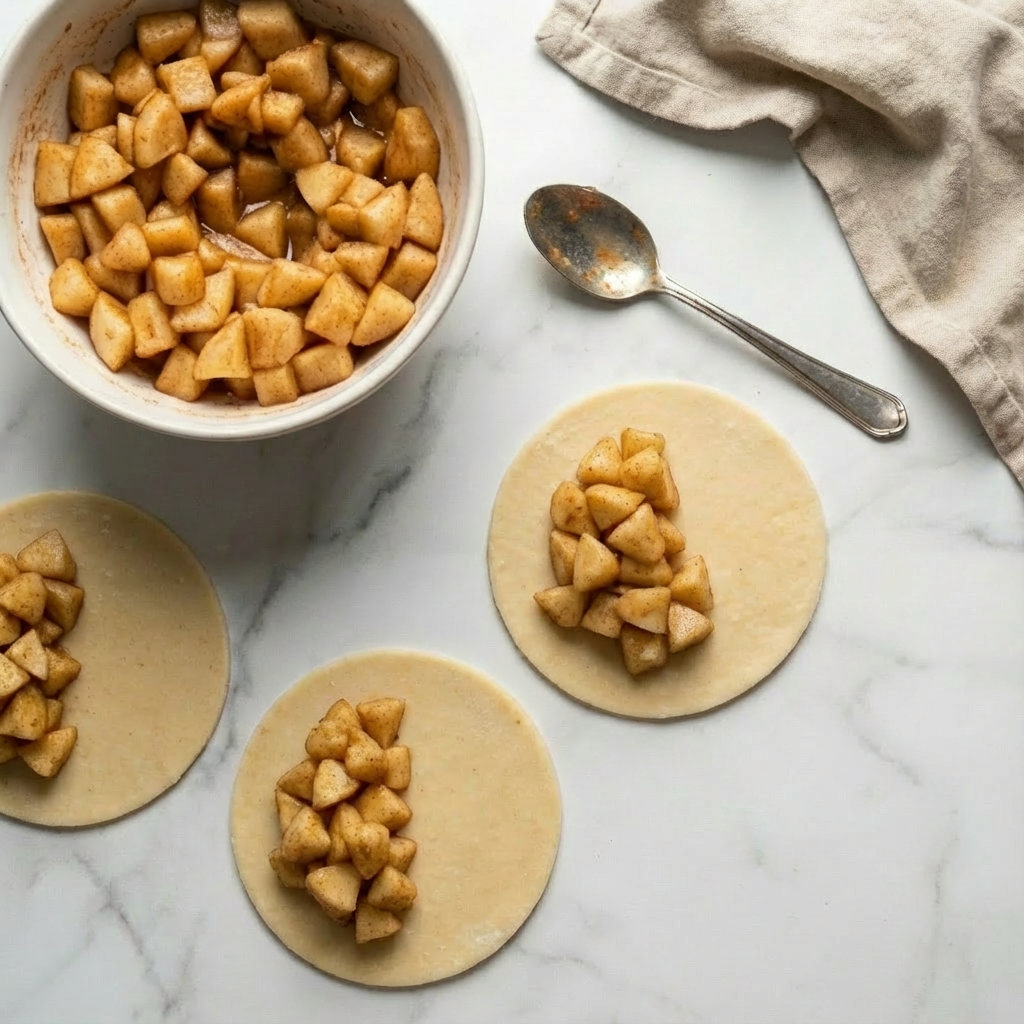
The Cooked Apple Filling
In a small saucepan, melt 1 tbsp butter over medium heat. Add the diced apples, brown sugar, flour, cinnamon, nutmeg, and lemon juice. Cook, stirring, for 5-7 minutes until apples are slightly softened and the mixture has thickened. Let cool completely.
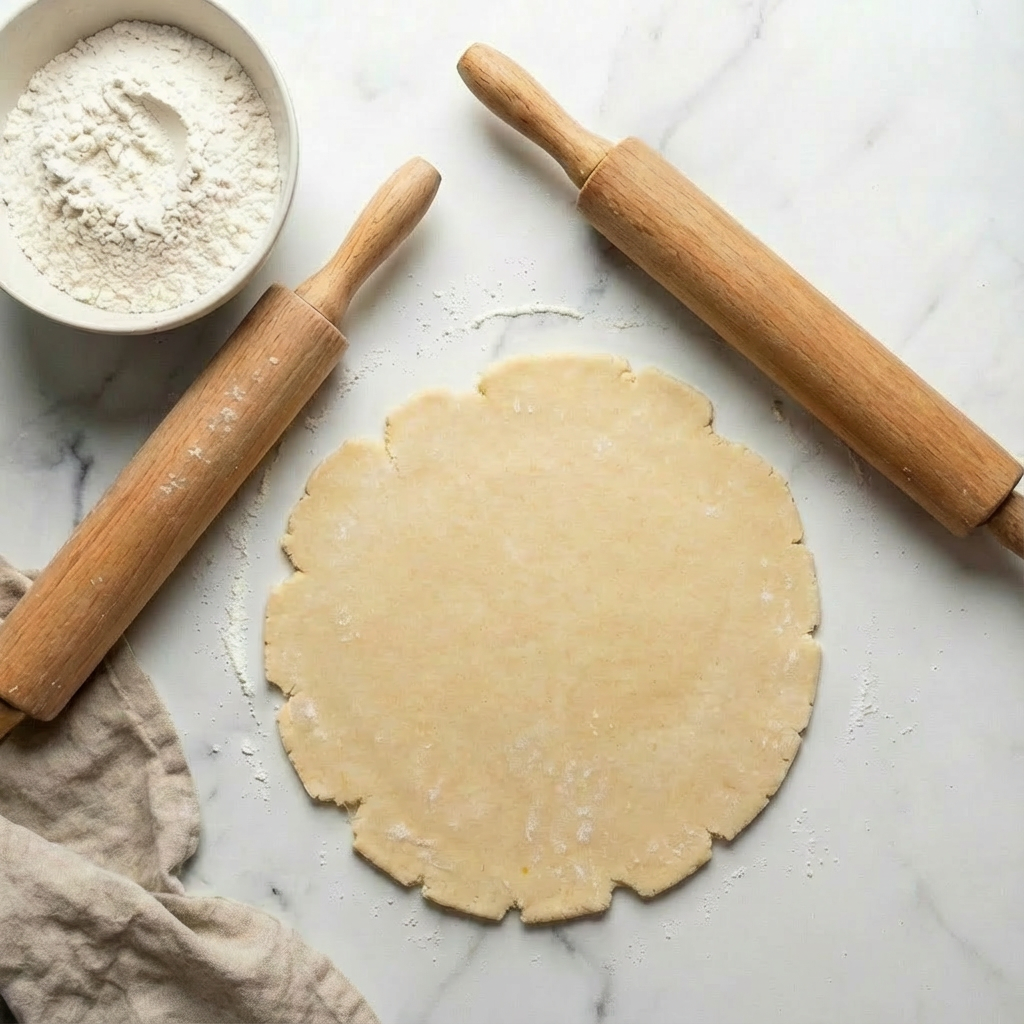
The Rolled-Out Dough
On a lightly floured surface, roll one dough disk into a large circle, about ⅛-inch thick. Use a 5-6 inch round cutter (or a bowl) to cut out circles. Re-roll scraps as needed.
The Filled Dough Circles
Place a dough circle on the work surface. Spoon 1-2 tablespoons of the cooled apple filling onto one half of the circle, leaving a ½-inch border around the edges.
The Folded & Sealed Hand Pies
Brush the edges of the dough with water or egg wash. Fold the empty half over the filling to create a half-moon shape. Press the edges firmly with your fingers, then crimp with a fork to seal completely.
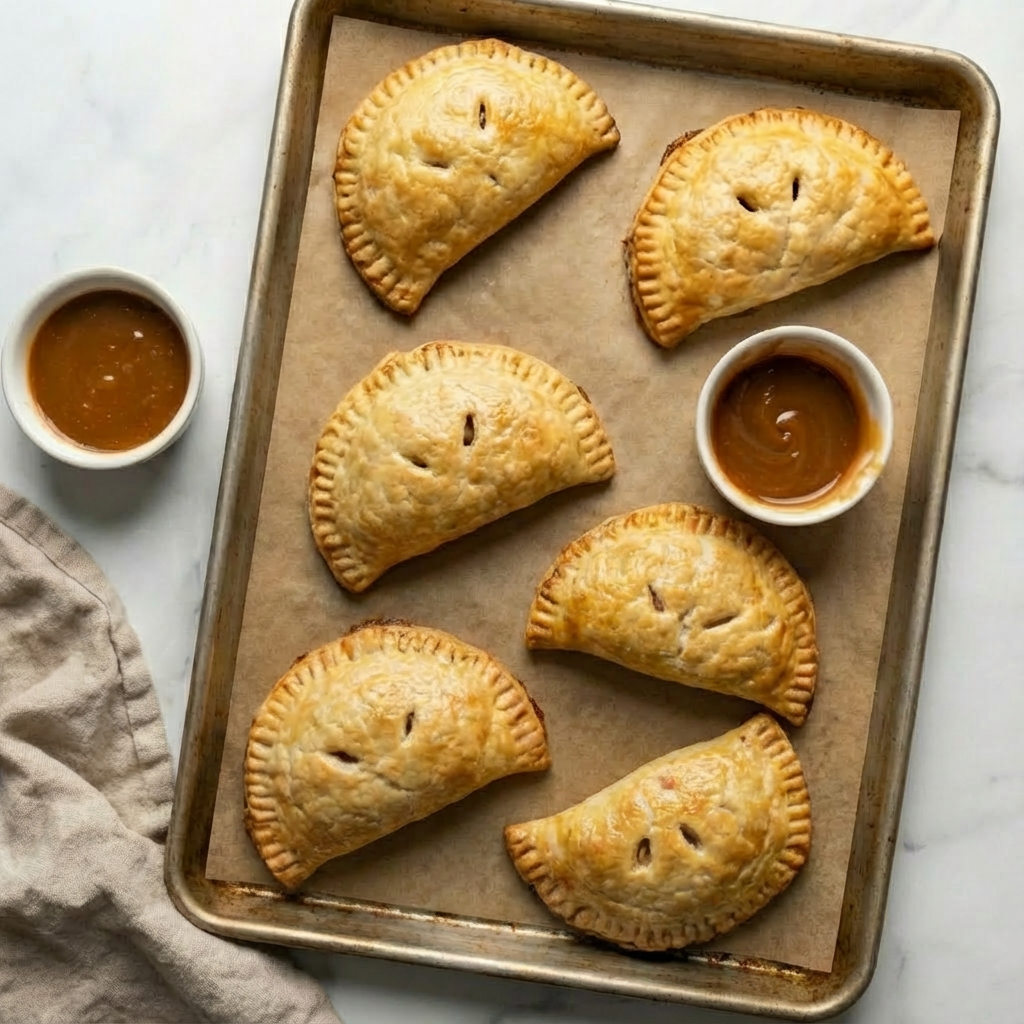
The Prepared Baking Sheet
Place the sealed hand pies on a parchment-lined baking sheet. Use a sharp knife to cut 2-3 small slits in the top of each pie to allow steam to escape. Brush the tops with egg wash and sprinkle generously with coarse sugar.
The Baked, Golden Hand Pies
Bake at 400°F (200°C) for 20-25 minutes, until the pies are puffed and deeply golden brown.
The Cooled & Glazed Pies
Let the pies cool on the baking sheet for 10 minutes before transferring to a wire rack. If desired, drizzle with a simple powdered sugar glaze once completely cool.
Pro-Tips for Hand Pie Success
- Keep Dough Cold: Work quickly and chill the dough if it becomes too soft. Cold dough is easier to handle and bakes up flakier.
- Cool the Filling Completely: A hot filling will melt the butter in the dough and make it greasy and hard to seal.
- Don’t Overfill: Too much filling is the main cause of leaks. Use about 1-2 tablespoons per pie.
- Seal Tightly: A good crimp with a fork ensures the pies don’t burst open in the oven. Make sure no filling is caught in the seam.
- Cut Steam Vents: This is essential to prevent the pies from puffing up like balloons and potentially splitting.
- Egg Wash for Shine: Brushing with egg wash gives a beautiful golden color and helps the sugar adhere.
- Use a Folding Method: For extra security, you can fold and twist the edges instead of just crimping with a fork.
- Make Ahead & Freeze: Assemble the unbaked hand pies and freeze them solid on a sheet pan. Once frozen, transfer to a bag. Bake from frozen, adding 5-7 minutes to the bake time.
- Filling Variations: Add a tablespoon of raisins or dried cranberries to the filling, or a pinch of cardamom. For a richer pie, add a tiny cube of butter on top of the filling before sealing.
- Serving: Best served warm or at room temperature. They are delicious on their own or with a scoop of vanilla ice cream.
These Apple Hand Pies are a fun, delicious, and endlessly adaptable baking project.