Welcome to the fascinating world of sourdough! Creating your own starter is a simple, magical process of cultivating wild yeast and bacteria from your environment using just flour and water. This living culture will become your key to baking flavorful, naturally leavened bread with that signature tang and airy crumb. Follow this day-by-day guide to nurture your starter from simple ingredients to a bubbling, active baking companion.
The Science of Wild Yeast Cultivation
Making a sourdough starter is essentially domesticating a local ecosystem. When you mix flour and water, you create an ideal environment for microorganisms naturally present in the flour and your kitchen. Initially, various bacteria and yeasts compete—you’ll see early activity that might suddenly seem to “die.” This is normal!
Acid-producing bacteria lower the pH, creating an environment perfect for the desired wild yeast and lactobacillus to thrive while outcompeting others. Regular feedings provide fresh food, encouraging the growth of strong, bread-leavening microbes. Over 5-10 days, a stable community establishes itself, visible through consistent bubbling and a pleasant, tangy aroma. This living culture, once mature, can leaven bread indefinitely with proper care.
Daily Instructions (The 7-Day Process)
The Beginning
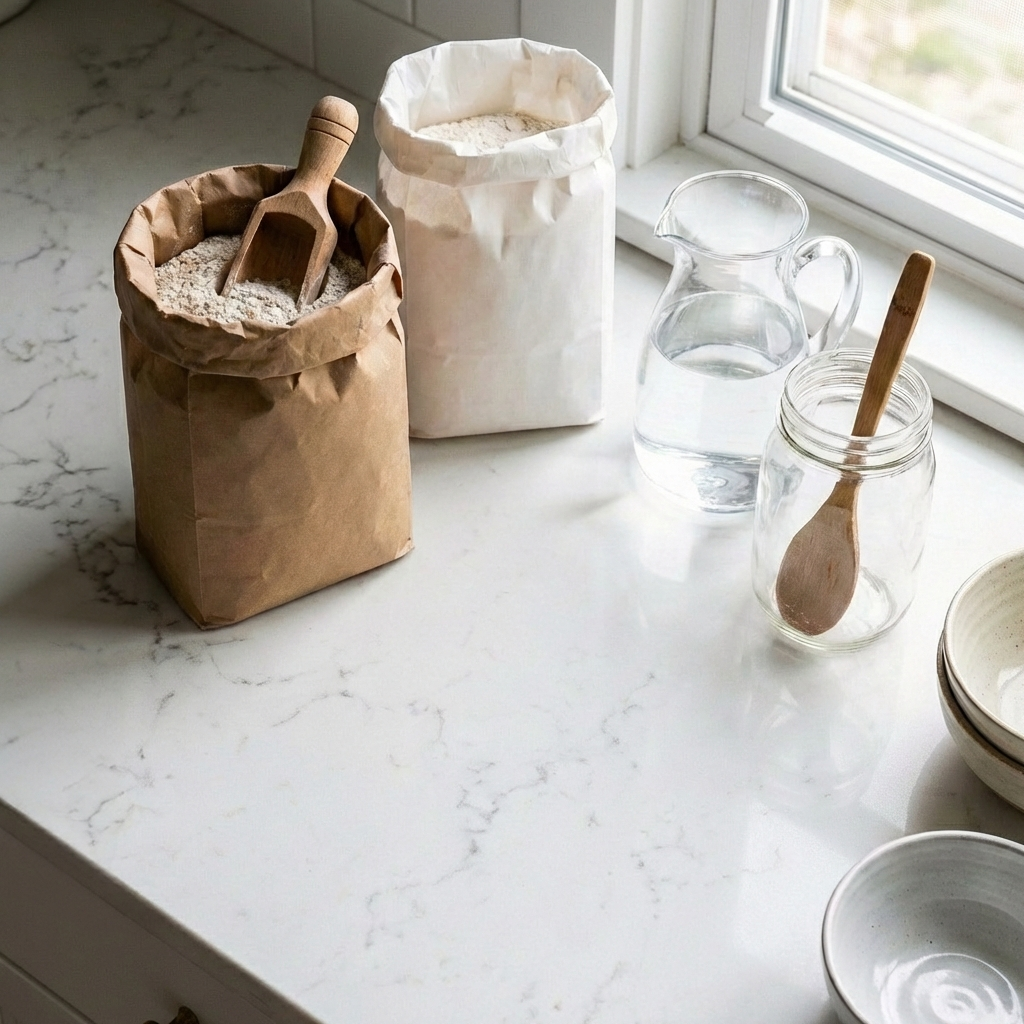
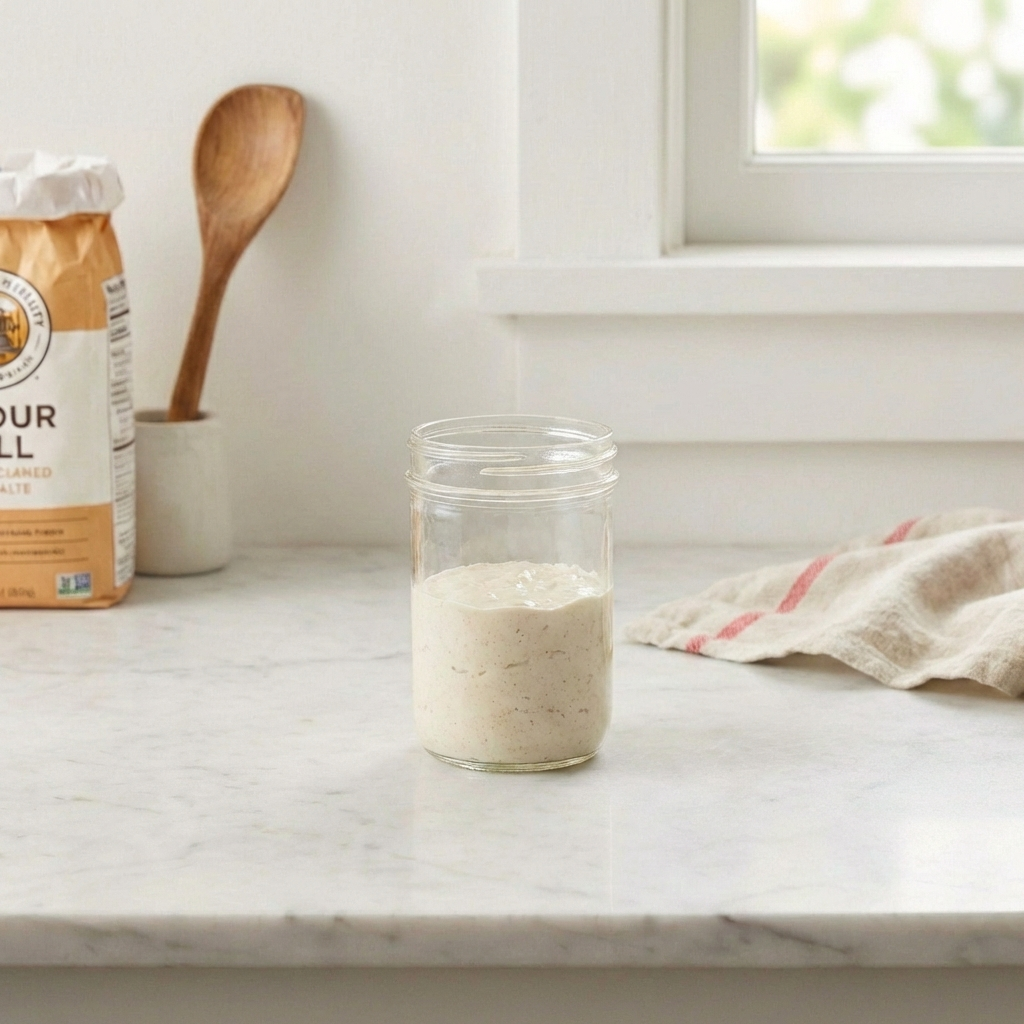
Mix ½ cup (60g) whole grain flour with ¼ cup (60g) lukewarm water in your jar until smooth. The consistency should be like thick pancake batter. Cover loosely (cloth or lid not fully tightened) and leave at warm room temperature (70-75°F/21-24°C). Mark the level with a rubber band.
Early Signs
You might see a few bubbles or no change—both are normal. Discard half of the mixture (about 2 tablespoons). Add ½ cup (60g) all-purpose flour and ¼ cup (60g) lukewarm water. Mix well, cover, mark the new level, and return to its spot.
The “False Peak”
Activity often surges! You may see lots of bubbles, rise, and a pungent smell (like cheese, vinegar, or nail polish). This is a bacterial bloom. It may then collapse and smell strongly. Don’t panic—this is the starter evolving. Continue daily routine: Discard all but 2 tablespoons of starter. Add ½ cup (60g) all-purpose flour and ¼ cup (60g) water. Mix, cover, mark.
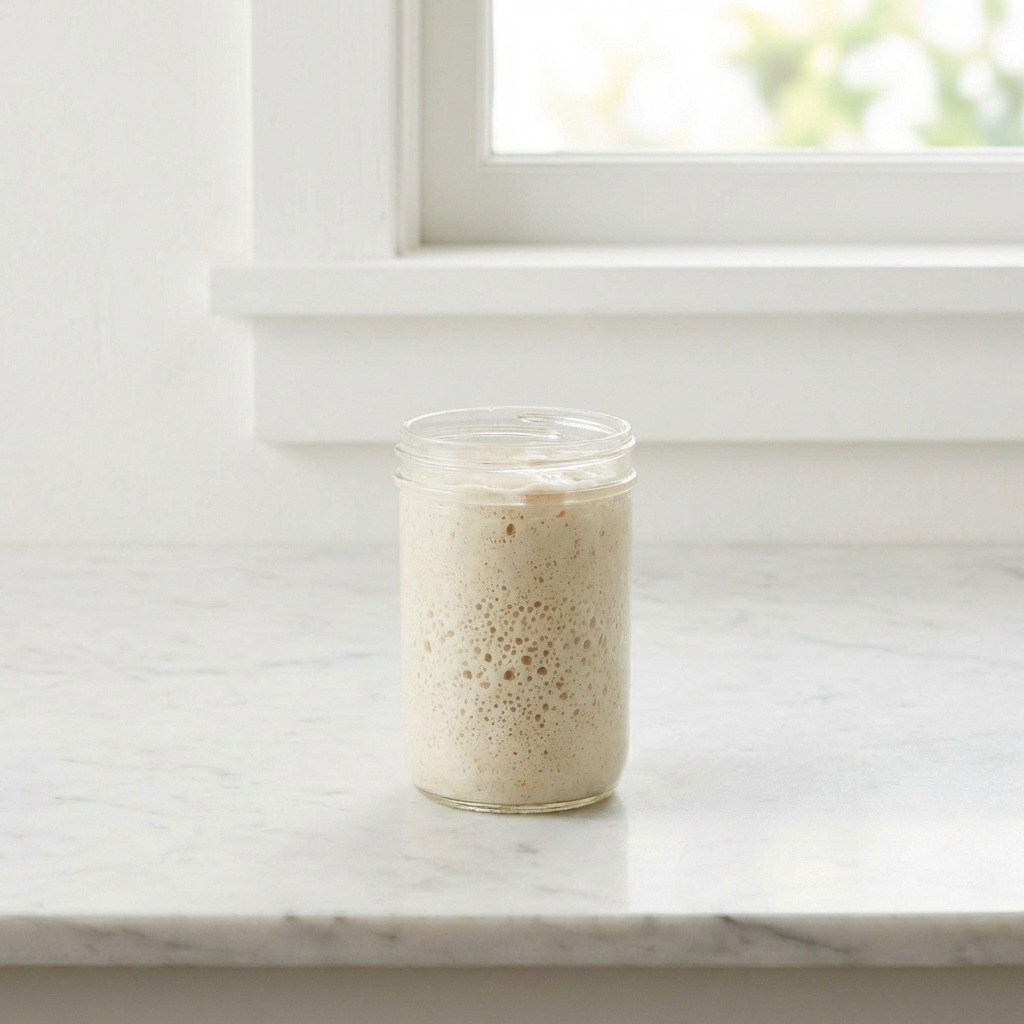
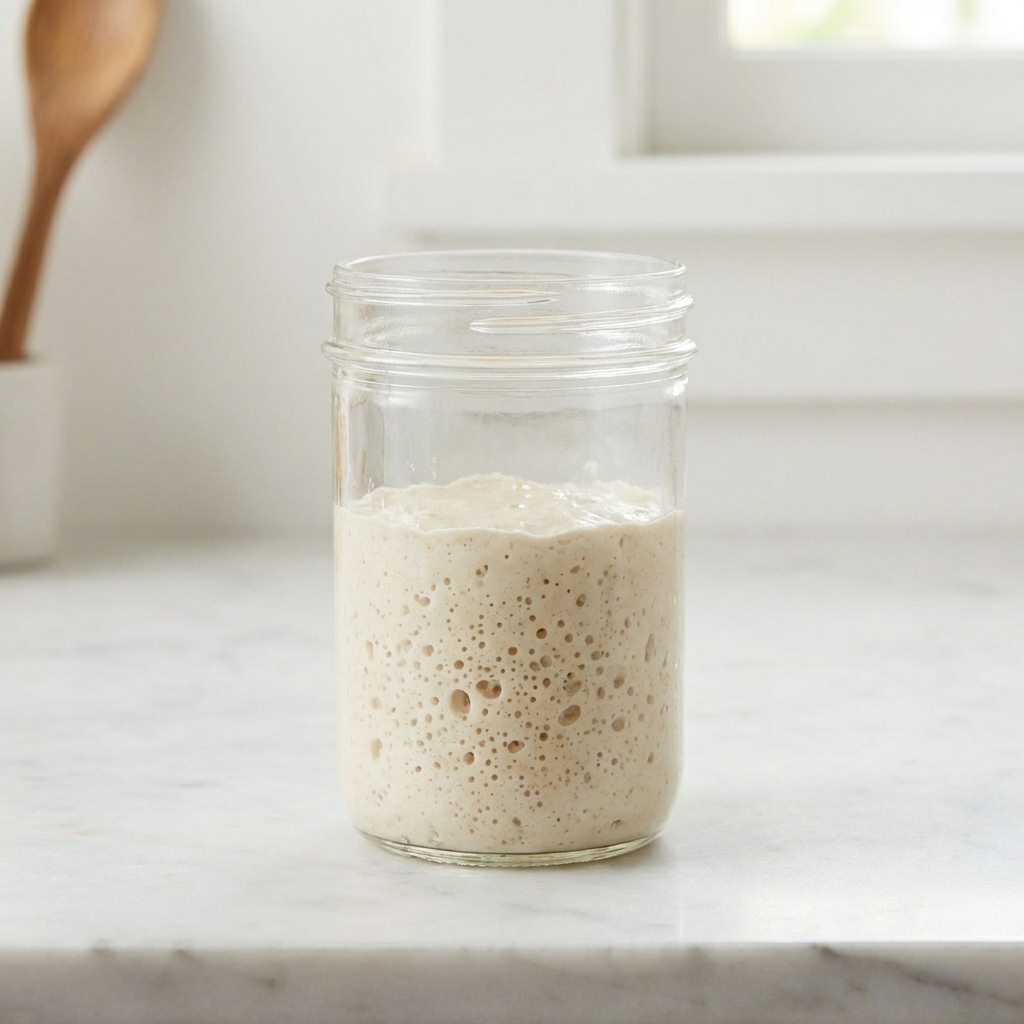
Stability Emerges
After the bacterial activity settles, true wild yeast establishes itself. The aroma becomes pleasant—fruity, yogurt-like, or mildly tangy. You should see consistent bubbles throughout and the starter should reliably double in volume within 4-8 hours of feeding. Continue daily feedings until this happens consistently for 2-3 days.
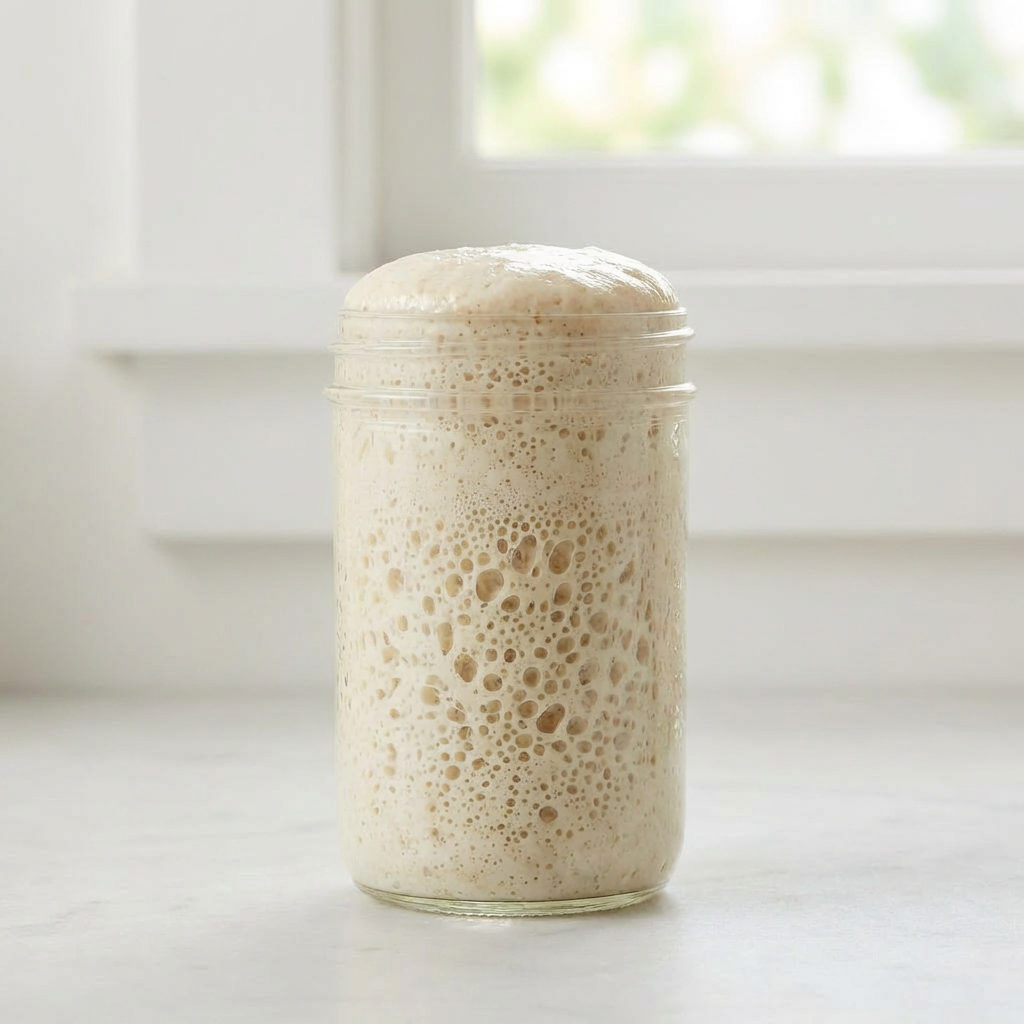
The Float Test
Drop a small spoonful of your peak (bubbly, just-fed) starter into a glass of room-temperature water. If it floats, it’s sufficiently aerated and active to leaven bread. If it sinks, it needs another feeding or more time.
Maintaining Your Active Starter
Room Temperature Maintenance: If baking daily, keep at room temp and feed every 12-24 hours.
Refrigerator Storage: For weekly baking, feed starter, let it peak (4-8 hours), then store in fridge. Feed once a week. To use, take from fridge, feed, and let it become active again (may take 1-2 feedings).
Common Questions Answered
What is “discard”?
The portion you remove before feeding. It’s unfed starter—store in fridge for use in pancakes, crackers, or quick breads.
Gray liquid on top?
This “hooch” means your starter is hungry. Stir it in and feed.
No bubbles after Day 5?
Your kitchen might be cool. Move to a warmer spot or be patient—some starters take 10-14 days.
Pink or orange tint?
This indicates harmful bacteria. Discard and start over.
Pro-Tips for Starter Success
- Be Consistent: Try to feed at roughly the same time each day.
- Watch Temperature: Starter thrives in consistent warmth. A cooler spot slows progress.
- Don’t Use Metal: Use glass or plastic containers and wooden/bamboo utensils—metal can react with acids.
- Name Your Starter! It makes the process more personal and fun.
- Patience is Key: Some starters take 10-14 days. Signs of health (bubbles, pleasant smell) matter more than the calendar.
- Trust Your Senses: A healthy starter smells pleasantly tangy, not rotten. Trust your nose!
With care and regular feedings, your homemade sourdough starter can become a lifelong baking companion, ready to transform simple ingredients into extraordinary bread.