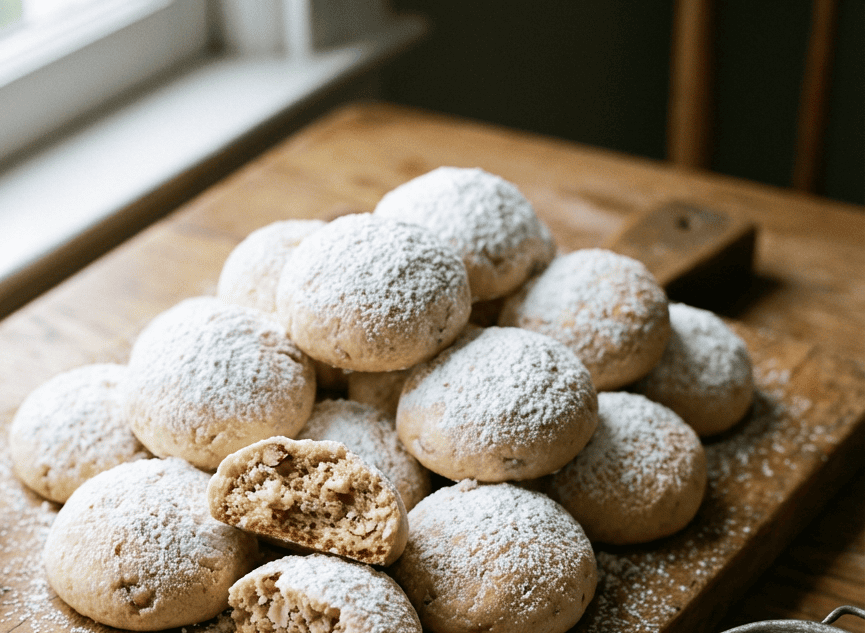
Despite their name, Italian Wedding Cookies (also known as Russian Tea Cakes or Mexican Wedding Cookies) are a celebratory treat enjoyed year-round, especially during the holidays. These delicate, buttery orbs are packed with finely chopped nuts, baked until just faintly golden, and then rolled while still warm in a blizzard of powdered sugar.
The result is a cookie with a tender, sandy texture that literally melts on your tongue. Their simplicity is their genius: rich butter, toasted nuts, a hint of vanilla, and a sweet, snowy exterior. They require no fancy decorating skills, are incredibly easy to make, and are famously crowd-pleasing. Whether packed in a festive tin as a gift or arranged on a Christmas platter, these cookies are a timeless symbol of homemade warmth and hospitality.
The Secret to the Perfect Sandy, Meltaway Texture
The iconic texture of these cookies is a masterclass in fat-to-flour ratios and the power of nuts. Unlike cookies that rely on eggs for structure, these use butter as the sole binder. The high proportion of butter coats the flour particles, inhibiting gluten formation and creating that coveted crumbly, “short” texture. The inclusion of finely ground nuts serves a dual purpose: they add deep, toasty flavor and their natural oils further tenderize the dough, contributing to the melt-in-your-mouth quality.
A critical technique is creaming the butter and sugar only until just combined, not until light and fluffy. This prevents too much air from being incorporated, which would cause the cookies to puff and lose their dense, sandy bite. Finally, the double coat of powdered sugar—first while warm to create a slightly melted glaze, and again once cooled for a final snowy finish—ensures each bite is perfectly sweet.
Toast & Prep Nuts
Preheat oven to 350°F (175°C). Spread nuts on a baking sheet and toast for 8-10 minutes until fragrant. Let cool completely, then chop very finely or pulse in a food processor. Reduce oven temperature to 325°F (165°C) for baking the cookies.
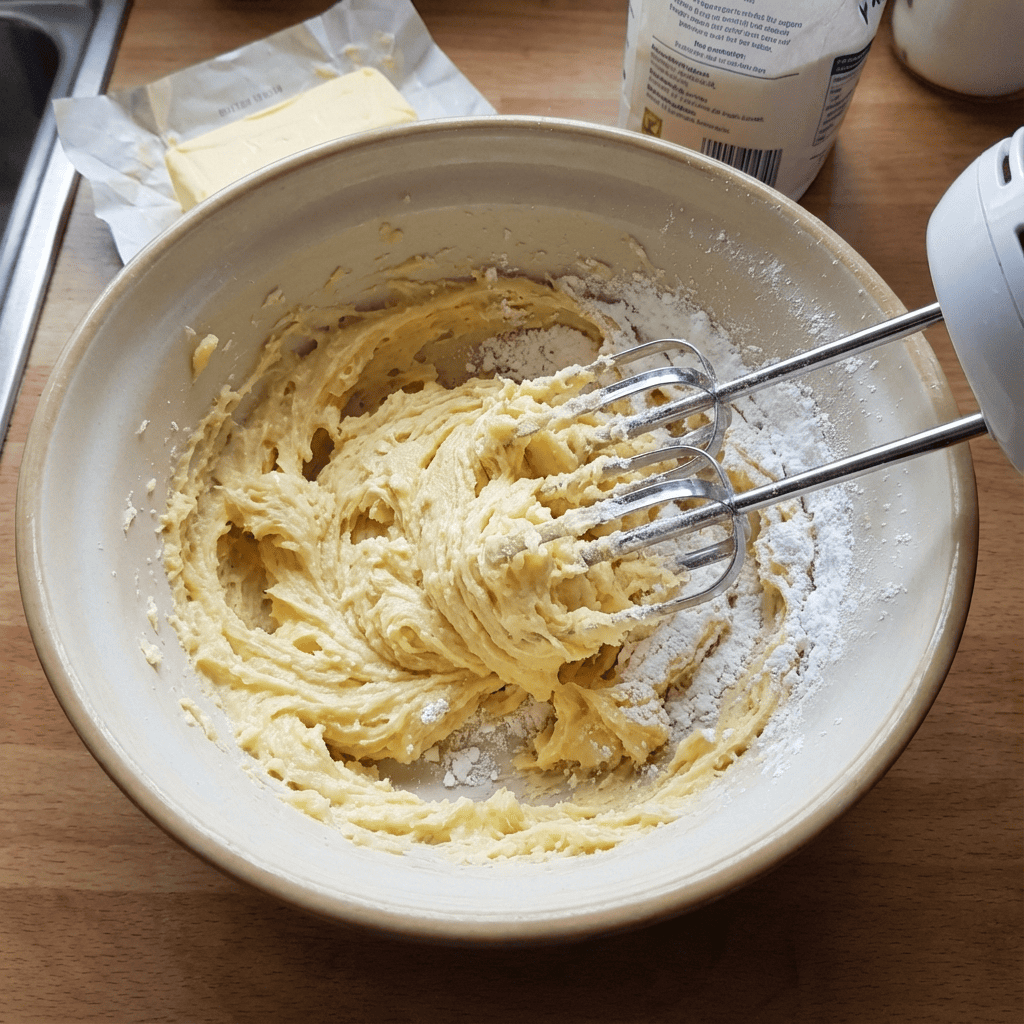
Make the Dough
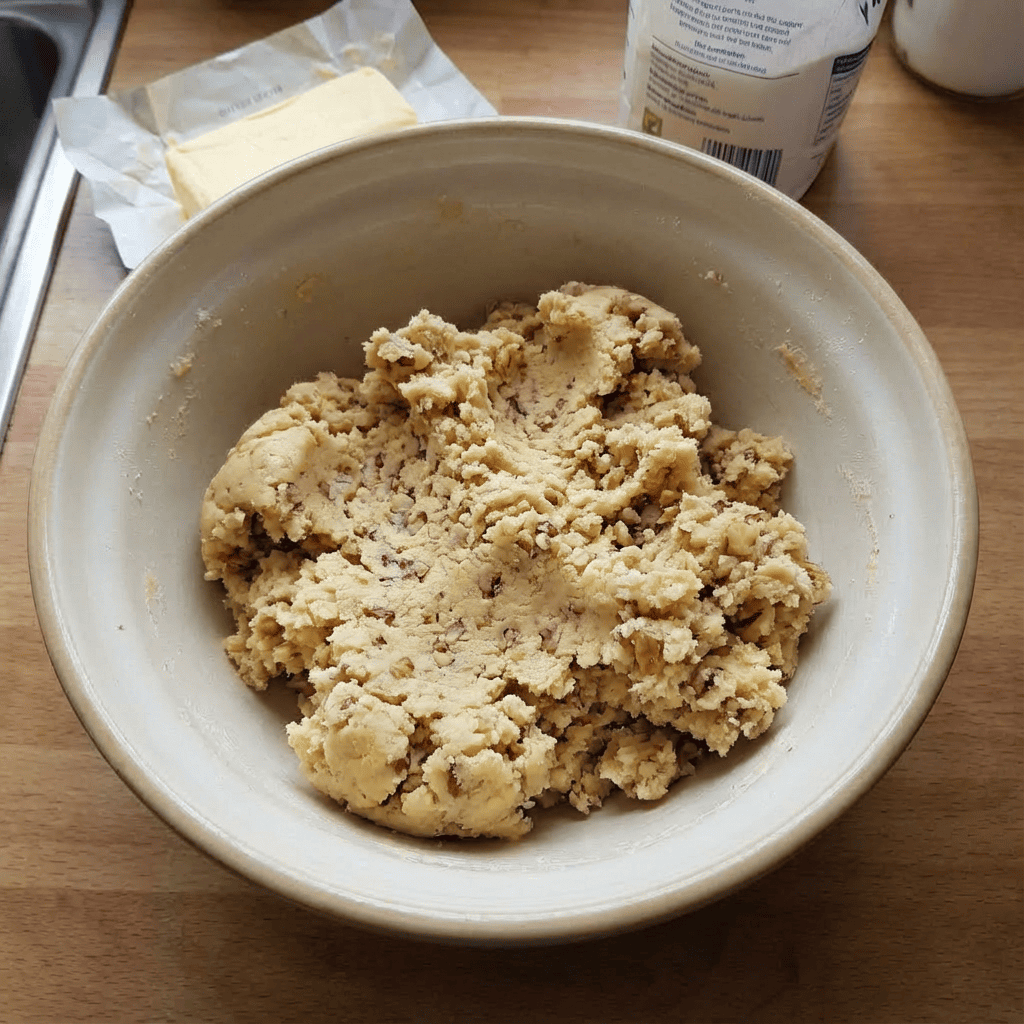
In a large bowl, beat the softened butter, ½ cup powdered sugar, vanilla, and salt together until just smooth and combined. Do not over-beat or whip until fluffy.
Add Dry Ingredients
With the mixer on low speed, gradually add the flour, mixing until it is almost incorporated. Add the finely chopped nuts and mix just until a cohesive dough forms and no dry streaks remain. The dough will be somewhat crumbly but should hold together when squeezed.
Shape the Dough
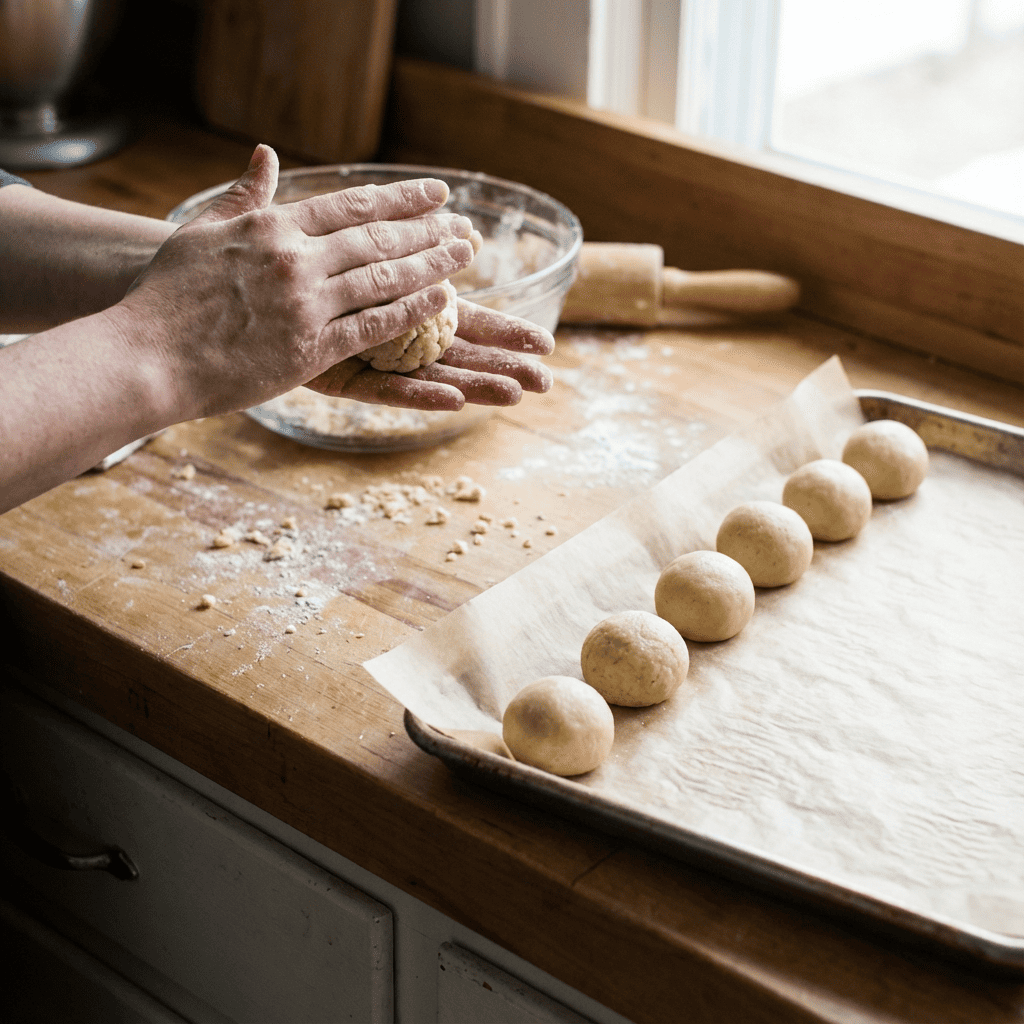
Scoop dough by the level tablespoon (about 20g each). Roll each portion between your palms into a smooth 1-inch ball. Place balls 1 inch apart on ungreased or parchment-lined baking sheets.
Bake
Bake at 325°F (165°C) for 15-18 minutes. The cookies are done when the bottoms are lightly golden and the tops are pale and look dry/set. They should not brown on top.
First Sugar Coating (Warm)
Let cookies cool on the baking sheet for exactly 5 minutes—they must still be very warm but handleable. Place about 1 cup of powdered sugar in a shallow bowl. Gently roll each warm cookie in the sugar to coat completely. Transfer to a wire rack.
Second Sugar Coating (Cooled)
Once the cookies are completely cool (about 1 hour), roll them in powdered sugar a second time. This creates the thick, snowy, classic finish.
Serve & Store
Store in an airtight container at room temperature for up to 2 weeks. Place parchment between layers to prevent sticking. The flavor often improves after 1 day.
Pro-Tips for Flawless, Tender Snowball Cookies
- Butter Temperature is Critical: Use butter that is softened but still cool—about 65°F. It should hold a thumbprint but not feel greasy or shiny. Butter that is too warm will cause the cookies to spread and lose their round shape.
- Finely Ground Nuts: The nuts must be chopped very finely, almost to a meal. Large pieces can prevent the dough from holding together and create a coarse texture.
- Handle with Care: These cookies are delicate. Roll the dough balls firmly but gently. When coating in sugar, handle them lightly to prevent breakage.
- The Low & Slow Bake: Baking at a lower temperature (325°F) ensures they cook through without browning, preserving their pale, snowy appearance.
- Double Sugar for a Reason: The first roll while warm creates a seal and a slightly glazed layer. The second roll on cool cookies gives them their iconic, powdered-snow look.
- Flavor Variations: Add ½ teaspoon of almond or lemon extract along with the vanilla. Roll the finished cookies in a mix of powdered sugar and a touch of cinnamon or matcha powder.
These Italian Wedding Cookies are a simple, elegant testament to the power of butter, nuts, and sugar.