
Great sourdough is about technique, not tools. This recipe delivers a classic, crusty, tangy loaf using only standard kitchen items: a mixing bowl, a spoon, a pot with a lid, and your oven.
Forget about buying a scale, Dutch oven, or banneton—here, you’ll learn to measure by volume, shape by hand, and bake in a simple pot to create steam. This is accessible, stress-free sourdough that proves incredible bread is possible for everyone.
The Simple Science of Steam & Structure
You can achieve professional results with household items because the core principles remain the same: fermentation builds flavor and strength, and steam creates crust.
Without a scale, we use the consistent spoon-and-sweep method for flour and the familiar cup for water. The structure comes from time and gentle handling rather than precise hydration calculations.
For baking, any heavy pot with a lid (like a soup pot, casserole dish, or even a deep pizza pan with a foil tent) will trap the steam from the dough itself, mimicking a professional oven’s steam injection. This steam keeps the dough surface elastic during the critical first minutes of baking, allowing for a great “oven spring” and that signature glossy, crackled crust.
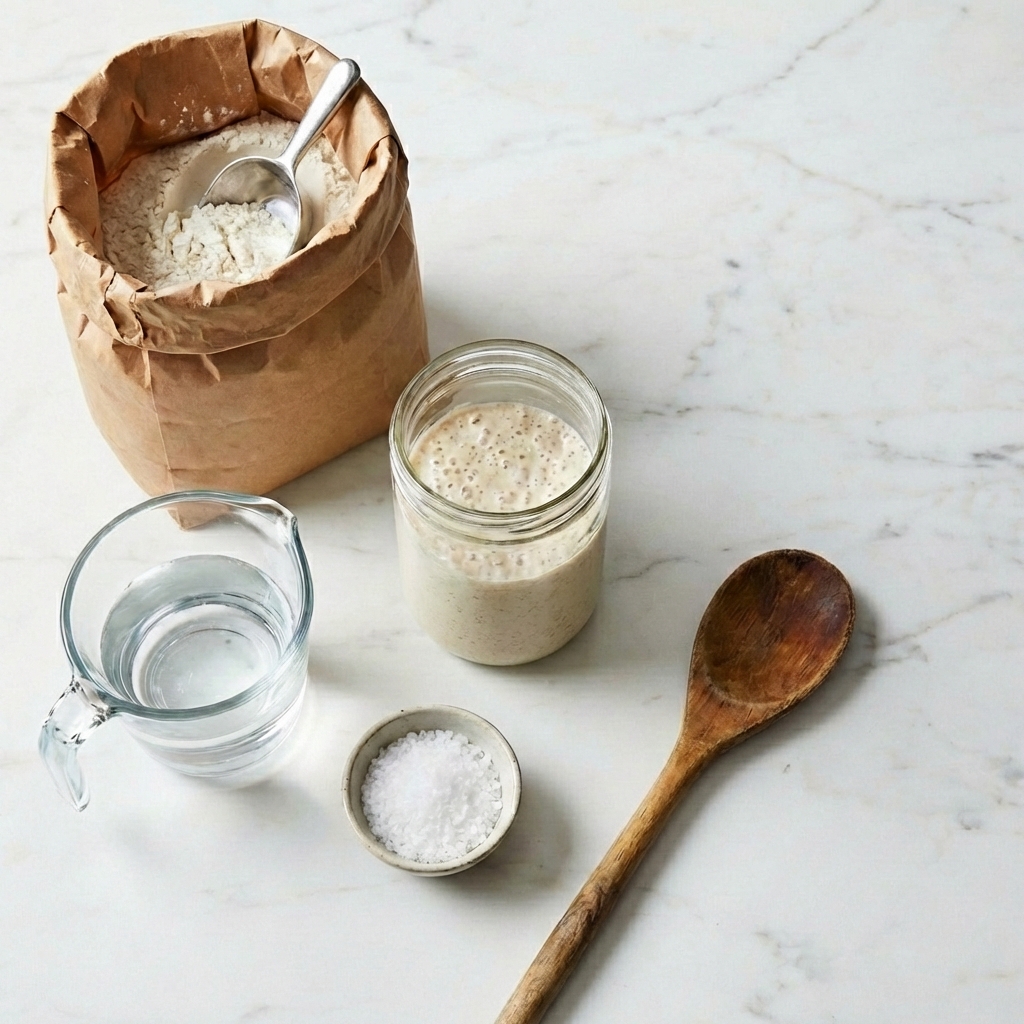
Ingredients
Instructions
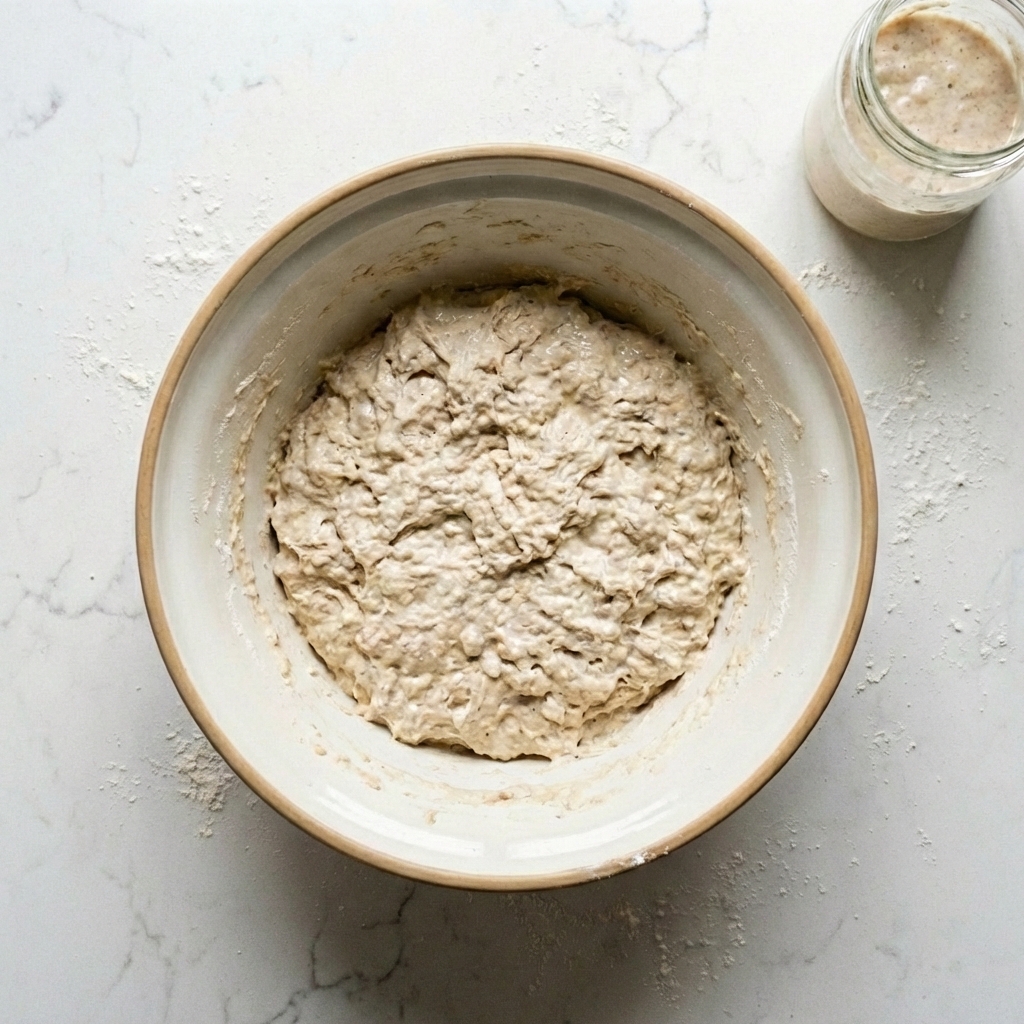
Mix the Dough (Day 1, Morning)
In your large bowl, combine the 3 cups of flour and salt. Stir with a spoon to mix. Make a well in the center and add the ½ cup of active starter and the 1 ¼ cups of lukewarm water. Stir from the center outward until a shaggy, sticky dough forms and no dry flour remains. Cover the bowl tightly with a damp kitchen towel or plastic wrap.
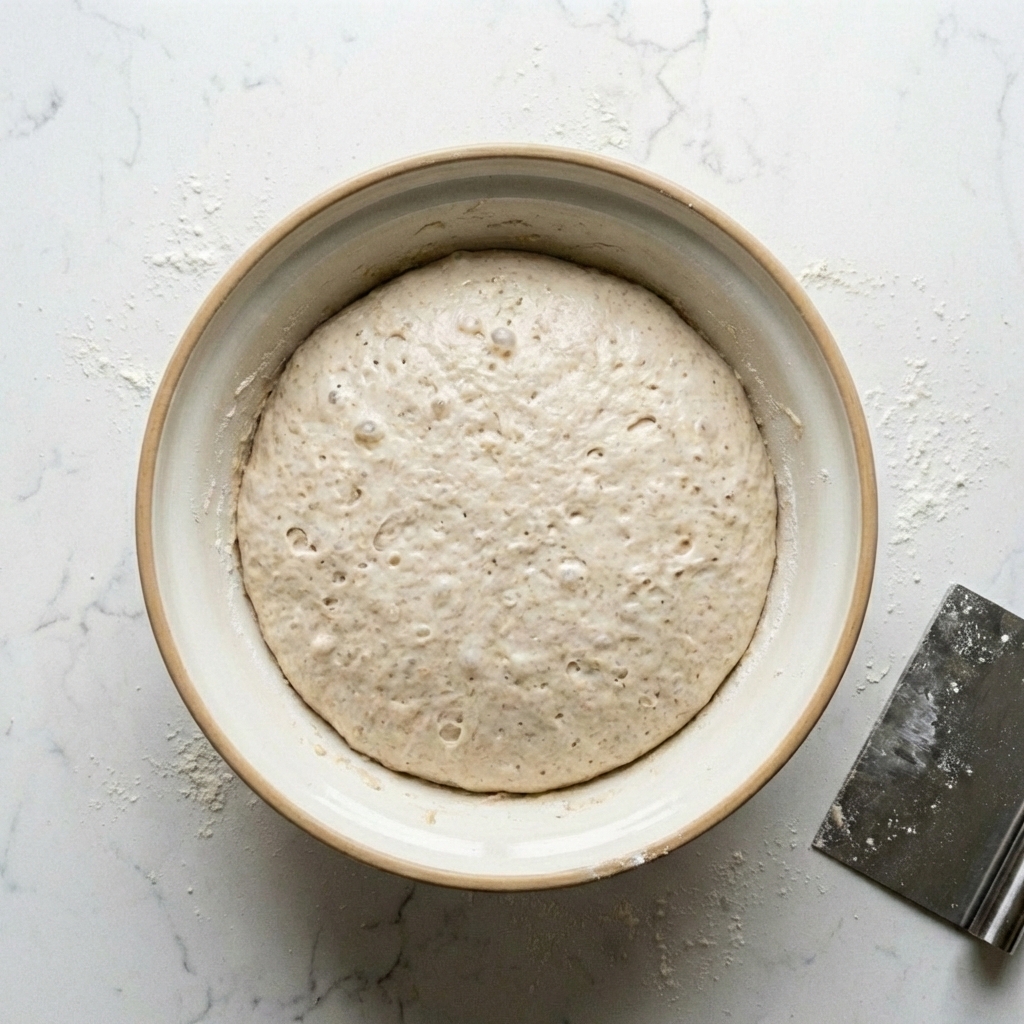
Bulk Fermentation & Stretch & Folds (Day 1, Daytime)
Let the dough rest at room temperature for 30 minutes. Then, perform your first set of stretches: Wet one hand to prevent sticking. Grab a section of dough from the side of the bowl, stretch it upwards, and fold it over the center.
Turn the bowl a quarter turn and repeat 4-5 times until you’ve gone around the entire bowl. Re-cover. Repeat this stretch-and-fold process 3 more times, once every 30 minutes. After the final fold, leave the covered dough to rise at room temperature for 6-8 hours total (from the initial mix), until it looks puffy, bubbly, and has roughly doubled in size.
Shape the Loaf (Day 1, Evening)
Generously flour a clean countertop or cutting board. Scrape the risen dough out onto the flour. Sprinkle a little flour on top. Using floured hands, gently fold the edges of the dough into the center, rotating as you go, to form a round, taut ball. Don’t knead it—just create enough surface tension to hold its shape.
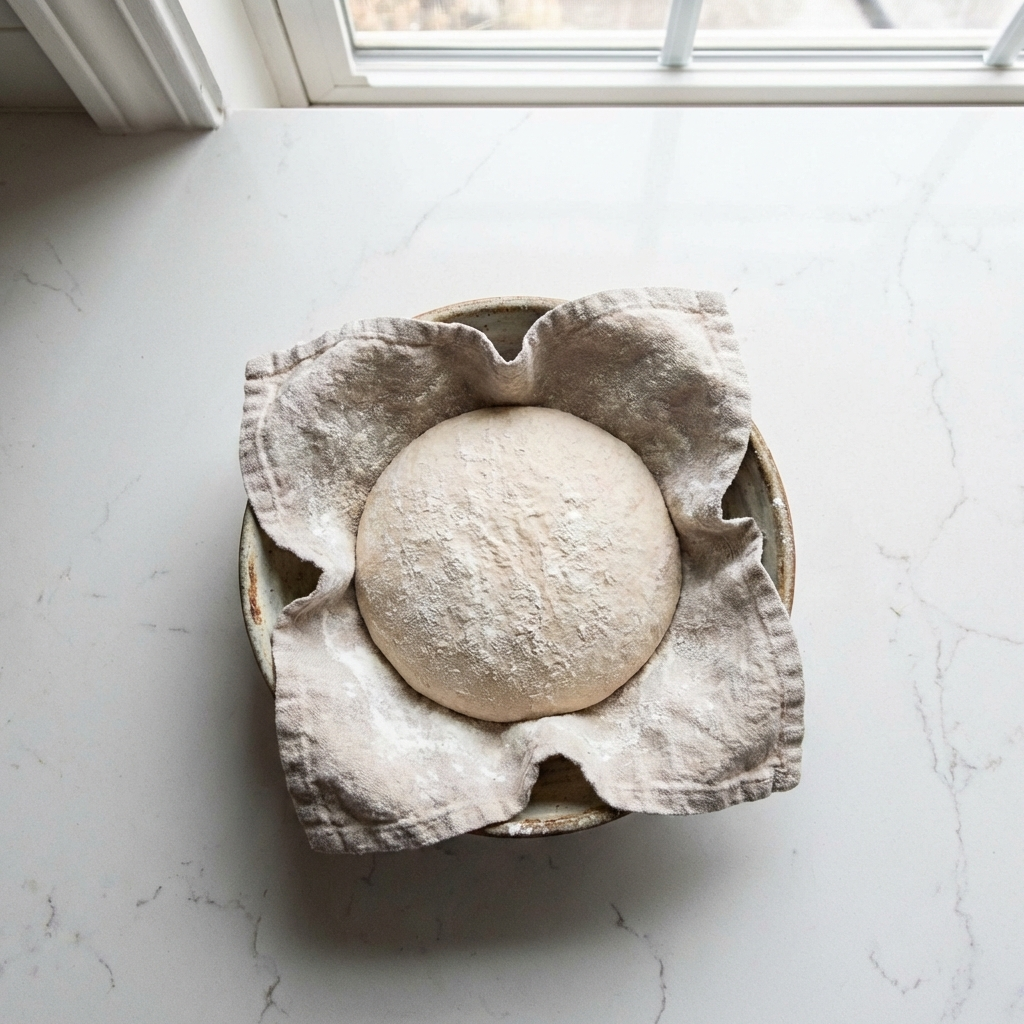
Overnight Rise (Day 1, Night – Day 2, Morning)
Place a clean kitchen towel (not terry cloth) inside a medium-sized bowl. Dust it very generously with flour. Place your shaped dough ball seam-side UP into the floured towel. Fold the edges of the towel over the dough to cover it. Place the whole bowl in the refrigerator and let it rest overnight (8-12 hours). This slow, cold rise develops amazing flavor.
Preheat & Prep (Day 2, Baking Day)
At least 45 minutes before you want to bake, place your empty pot with its lid on into the oven. Preheat the oven (with the pot inside) to 450°F (230°C). Take your dough out of the fridge.
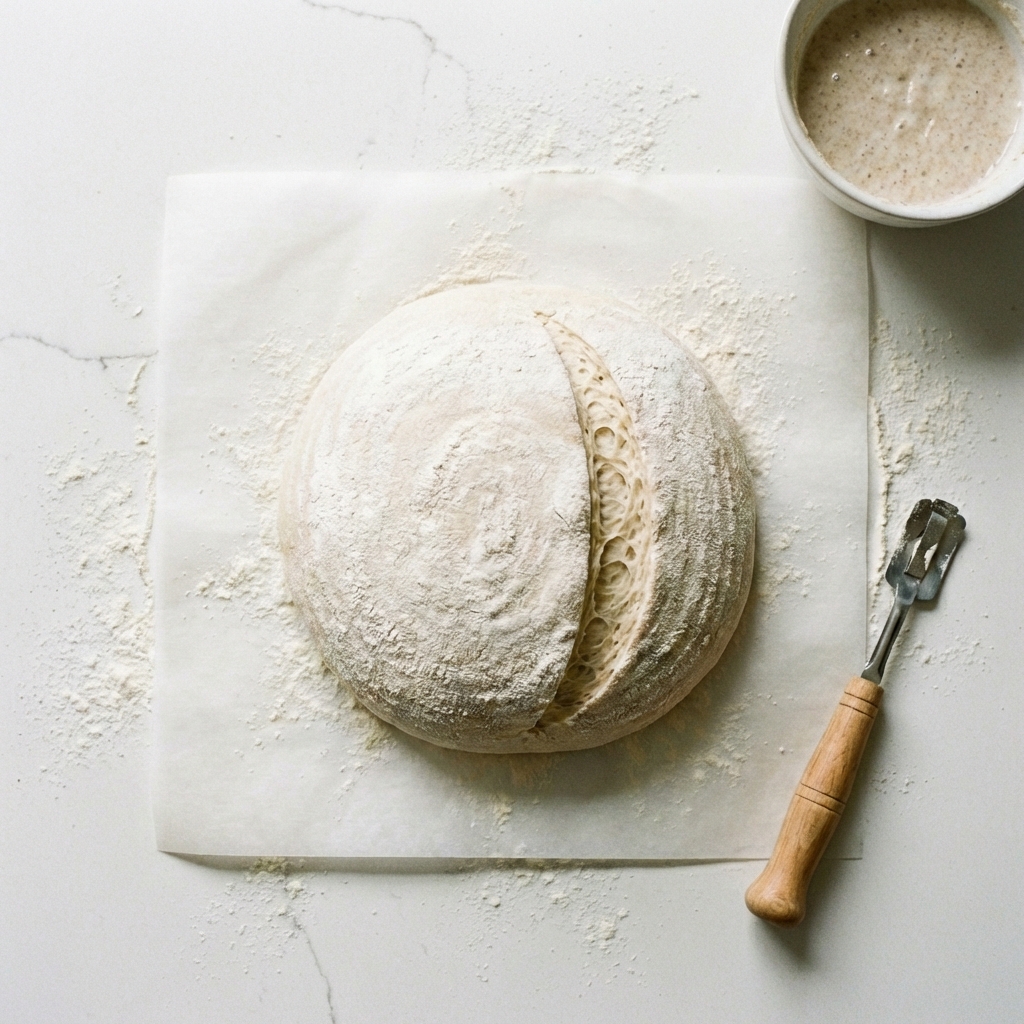
Carefully turn it out onto a piece of parchment paper (or directly onto a floured surface if you’re brave!). The top (which was the bottom in the bowl) is now the pretty, floured surface. Using a sharp knife, make one deep slash about ½ inch deep across the top.
Bake
Using oven mitts, very carefully remove the HOT pot from the oven. Take the lid off. Using the parchment as a sling (or your hands if you’re brave!), lift the dough and lower it into the hot pot. Put the lid back on. This creates an instant steam chamber. Bake with the lid on for 25 minutes.
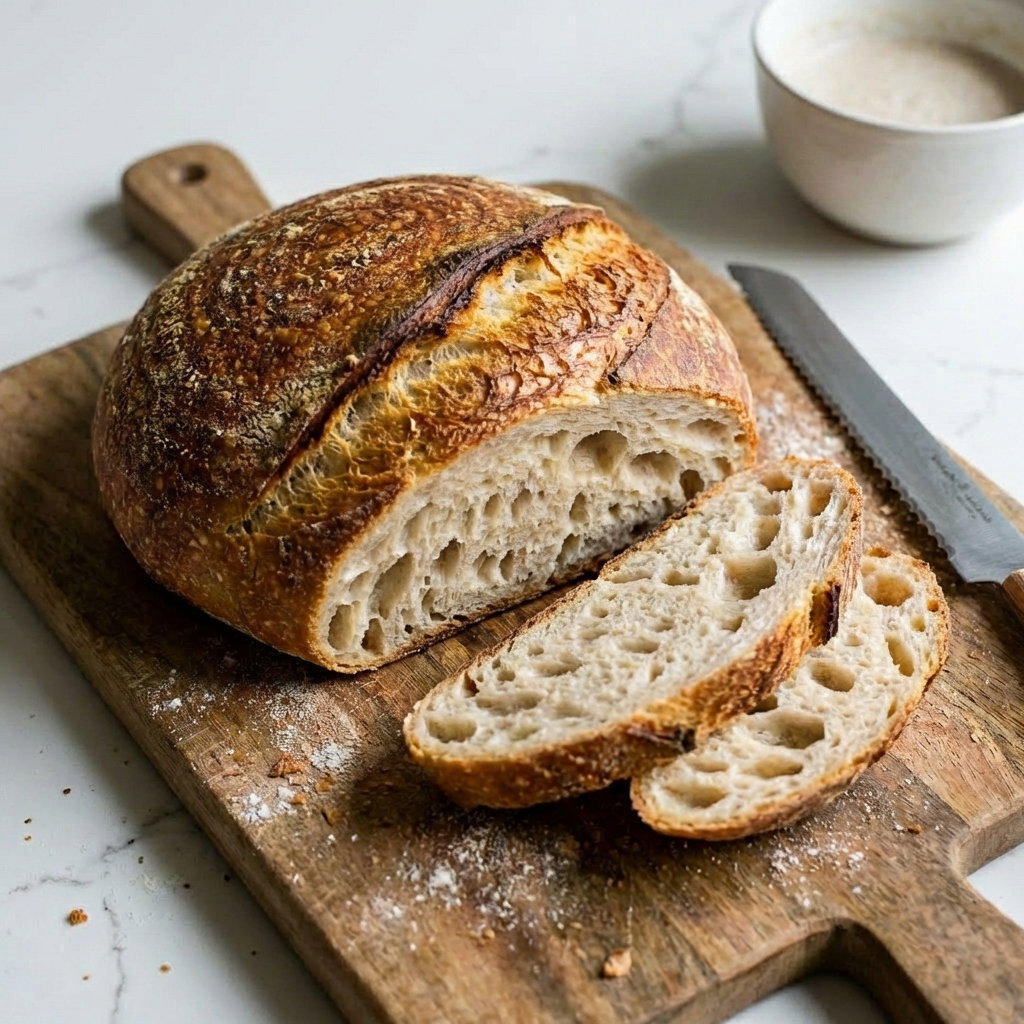
Then, remove the lid. The loaf will be pale but puffed. Continue baking, uncovered, for another 20-25 minutes until the crust is deep golden brown and sounds hollow when tapped.
Cool Completely
Use the parchment or a spatula to lift the bread out of the pot. Transfer it to a wire rack or a propped-up cutting board to cool. Let it cool completely—for at least 2 hours—before slicing. This is when the crumb sets.
Pro-Tips for Tool-Free Success
- Measure Flour Correctly: Fluff the flour in its bag, spoon it lightly into your measuring cup, and sweep off the excess with a knife. Don’t pack it.
- Starter Readiness: Your starter should be very bubbly and active. If it floats in a cup of water, it’s ready.
- Use Any Pot: The pot must be oven-safe with a lid. A stainless steel soup pot, ceramic casserole, or even a deep metal bowl with foil as a lid will work.
- Dust the Towel Well: When using a kitchen towel as a proofing bowl, use plenty of flour or a 50/50 mix of flour and rice flour to prevent sticking.
- Steam is Key: Don’t peek during the first 25 minutes of baking! Keeping the lid on traps the crucial steam.
- Embrace the Rustic Look: Without a banneton, your loaf might have a more casual, flour-dusted look—that’s part of its charm.
- Listen to Your Dough: If your kitchen is very warm, the bulk rise may be faster. If it’s cool, it may take longer. Look for the dough to double, not the clock.
This No-Fuss Sourdough proves that great bread is always within reach.