Experience the nostalgic pleasure of homemade candy with this simple, foolproof Old-Fashioned Peanut Butter Fudge. This recipe relies on the classic “boil and beat” method, resulting in a velvety-smooth, dense confection with deep peanut butter flavor.
Unlike overly sweet versions, this fudge has a balanced richness that truly melts in your mouth. It’s surprisingly easy to make and perfect for gifting, holiday trays, or satisfying a serious peanut butter craving.
The Science of Sugar Crystallization
Successful fudge making is all about controlling sugar crystal formation. When the sugar, butter, and milk are boiled, the sucrose molecules break down into simpler sugars (glucose and fructose). The goal is to cool the mixture to precisely the right temperature (the “soft-ball stage” at 235–240°F / 113–116°C) so that when it’s agitated (beaten), tiny, uniform sugar crystals form.
These microscopic crystals are what give fudge its signature smooth, creamy texture rather than a grainy, sugary one. Peanut butter plays a dual role: its oils and proteins interfere with crystal formation just enough to prevent large grains, while its natural emulsifiers help bind the fat and sugar syrup into a homogenous mixture.
The vigorous beating after cooling is non-negotiable—it introduces air and jump-starts the crystallization process that transforms a glossy syrup into a thick, matte, sliceable fudge.
Instructions
Prepare the Pan
Line an 8×8 inch baking pan with parchment paper, leaving an overhang on two sides for easy removal. Lightly grease the paper. Set aside.
Cook the Sugar Syrup
In a heavy-bottomed medium saucepan (at least 3-quart capacity), combine the sugar and milk. Stir over medium heat until the sugar dissolves and the mixture comes to a boil. Once boiling, stop stirring. Attach a candy thermometer to the side of the pan, ensuring it’s not touching the bottom.
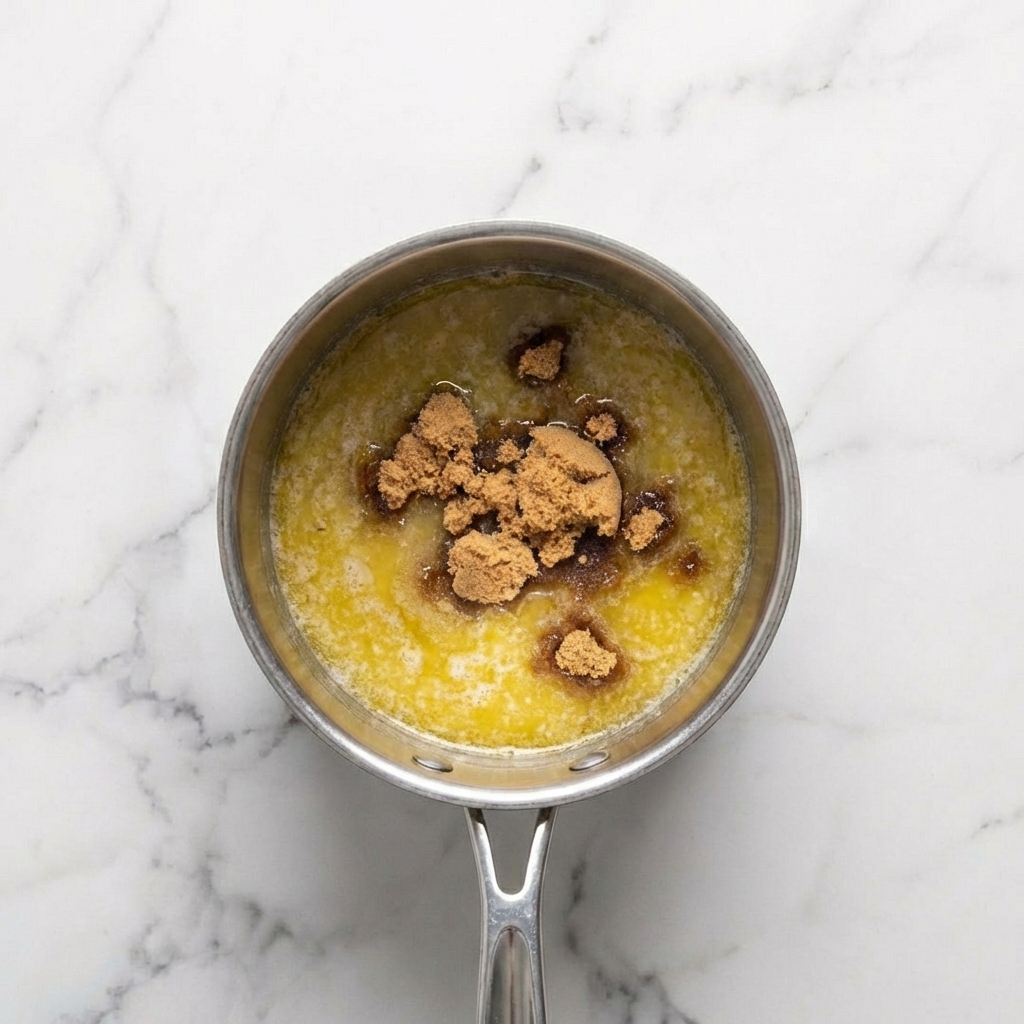
Cook, without stirring, until the mixture reaches the soft-ball stage: 235–240°F (113–116°C). This will take about 10-15 minutes. Wash down any sugar crystals on the sides of the pan with a wet pastry brush.
Cool the Mixture
Once the correct temperature is reached, remove the pan from heat. Without stirring, let the syrup cool undisturbed until the thermometer reads 110°F (43°C). This cooling period is crucial for proper crystallization.
Beat & Add Peanut Butter
Add the peanut butter, vanilla extract, and salt to the cooled syrup. Using a wooden spoon or sturdy spatula, beat vigorously and continuously. The mixture will change from glossy and thin to thick, matte, and lighter in color. This can take 5-10 minutes of strenuous beating.
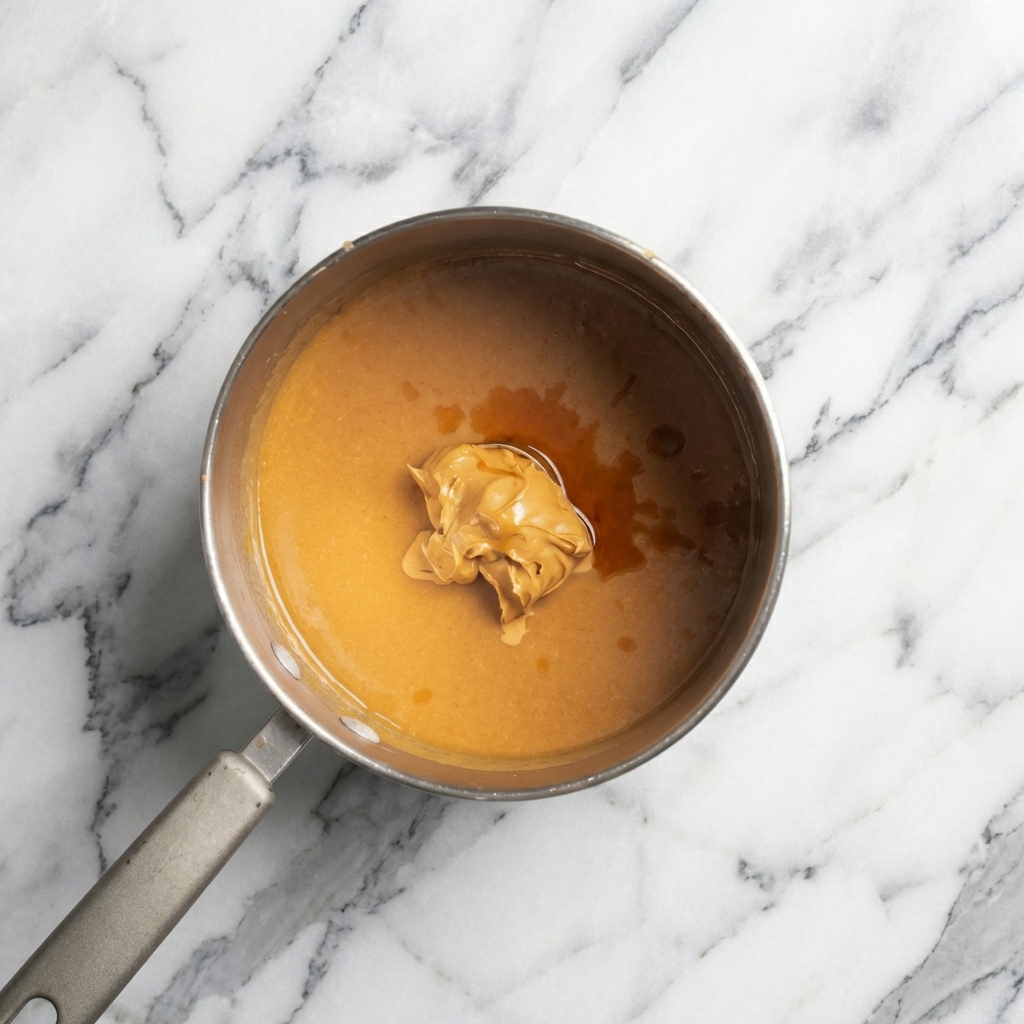
When the fudge starts to lose its sheen, holds its shape, and becomes difficult to stir, it’s ready. If using add-ins like peanuts, stir them in now.
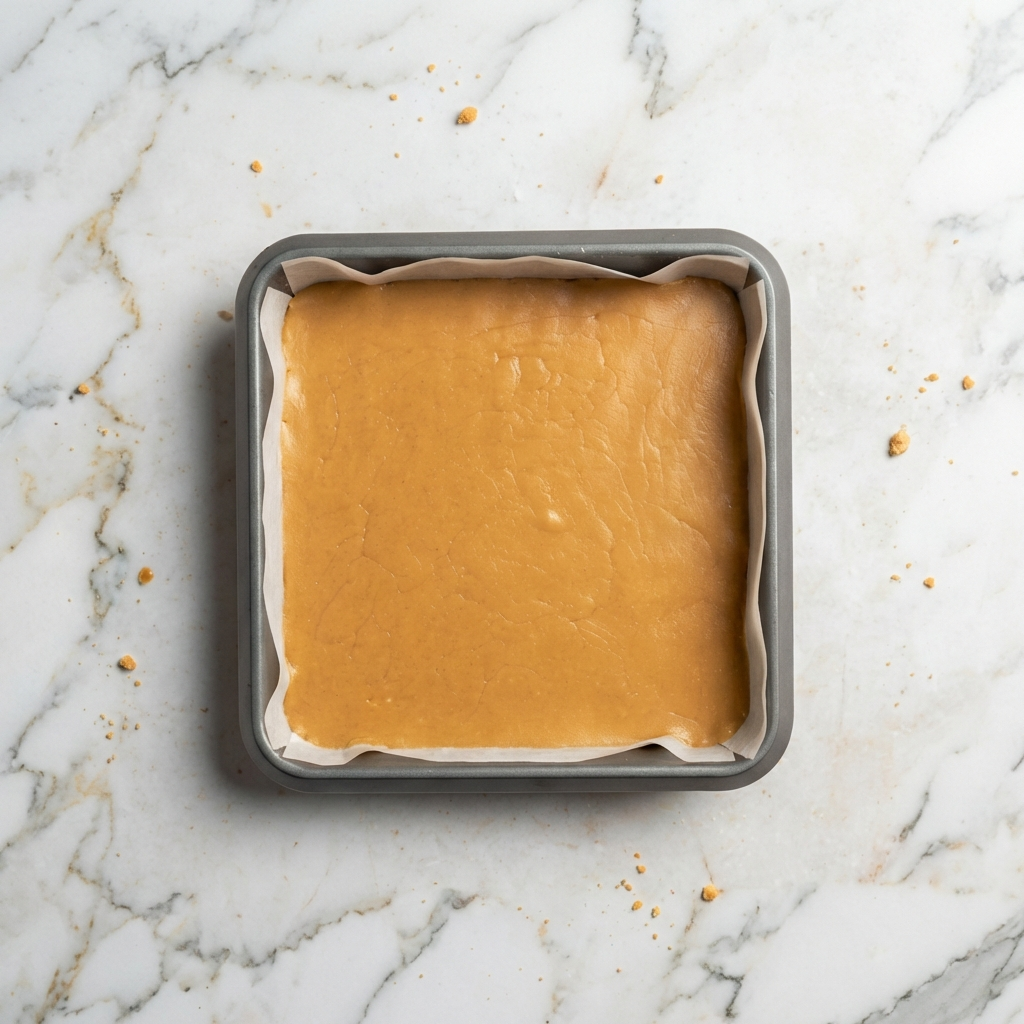
Press & Set
Immediately transfer the thick fudge to the prepared pan. Use the back of a spatula or your hands (lightly greased) to press it into an even, compact layer.
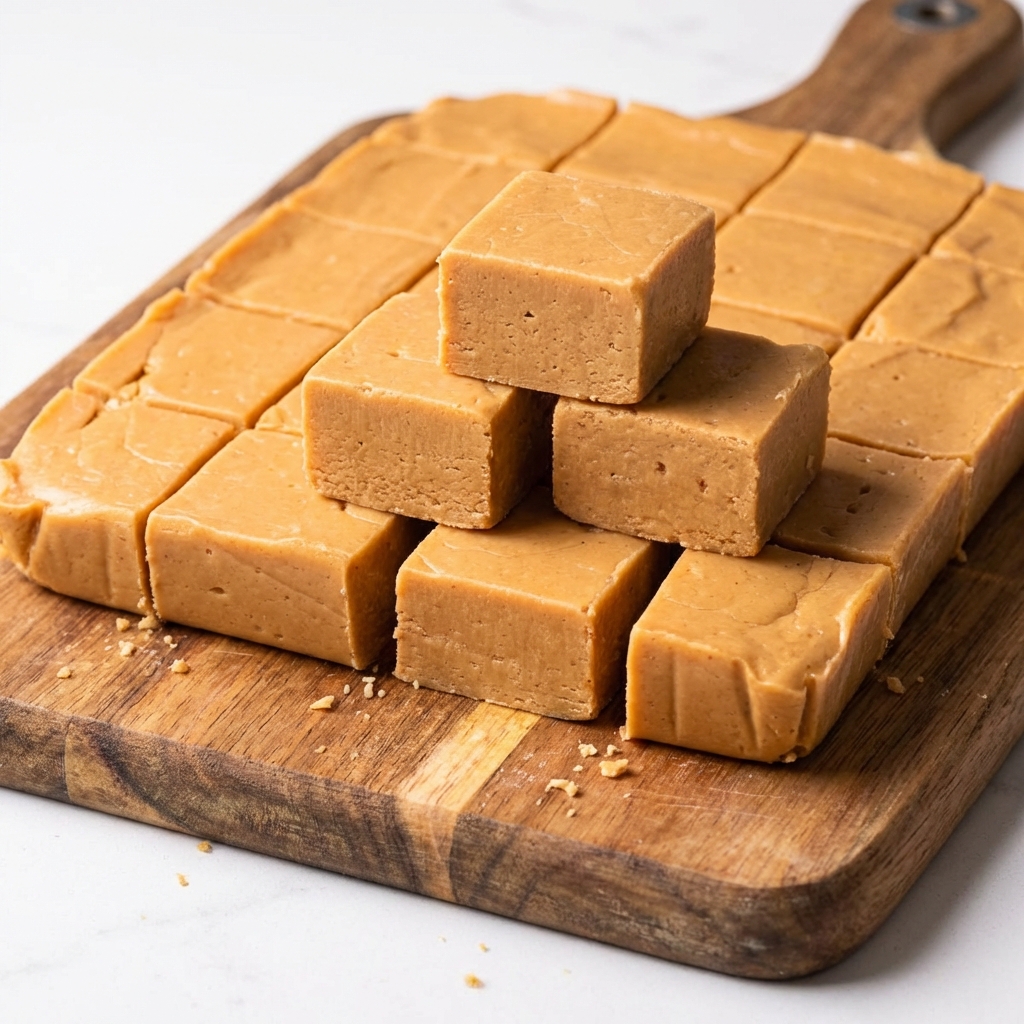
Slice & Serve
Let the fudge cool completely at room temperature for about 2 hours, then refrigerate for 1 hour to fully set. Use the parchment overhang to lift the fudge block out of the pan. Cut into 1-inch squares with a sharp knife. Store in an airtight container at room temperature for up to 2 weeks.
Pro-Tips for Fudge Success
- Use a Candy Thermometer: This is the most reliable tool for hitting the precise temperature needed.
- Don’t Stir While Boiling: Stirring can cause premature crystallization, leading to grainy fudge.
- Heavy-Bottomed Pan: Prevents hot spots that can burn the sugar.
- Standard Peanut Butter: Use homogenized brands like Jif or Skippy. Natural peanut butter (with separated oil) will make the fudge greasy and inhibit proper setting.
- Patience During Cooling: Letting the syrup cool to 110°F before beating is what ensures a smooth, not grainy, texture.
- Beat Until It Obeys: Keep beating even when your arm gets tired. The fudge is ready when it thickens, loses its gloss, and starts to hold its shape in the pan.
- Press Firmly: Pressing the warm fudge firmly into the pan eliminates air pockets and gives clean slices.
- Clean Cuts: For perfect squares, wipe the knife blade with a hot, damp cloth between cuts.
This Old-Fashioned Peanut Butter Fudge is a timeless candy-making triumph.