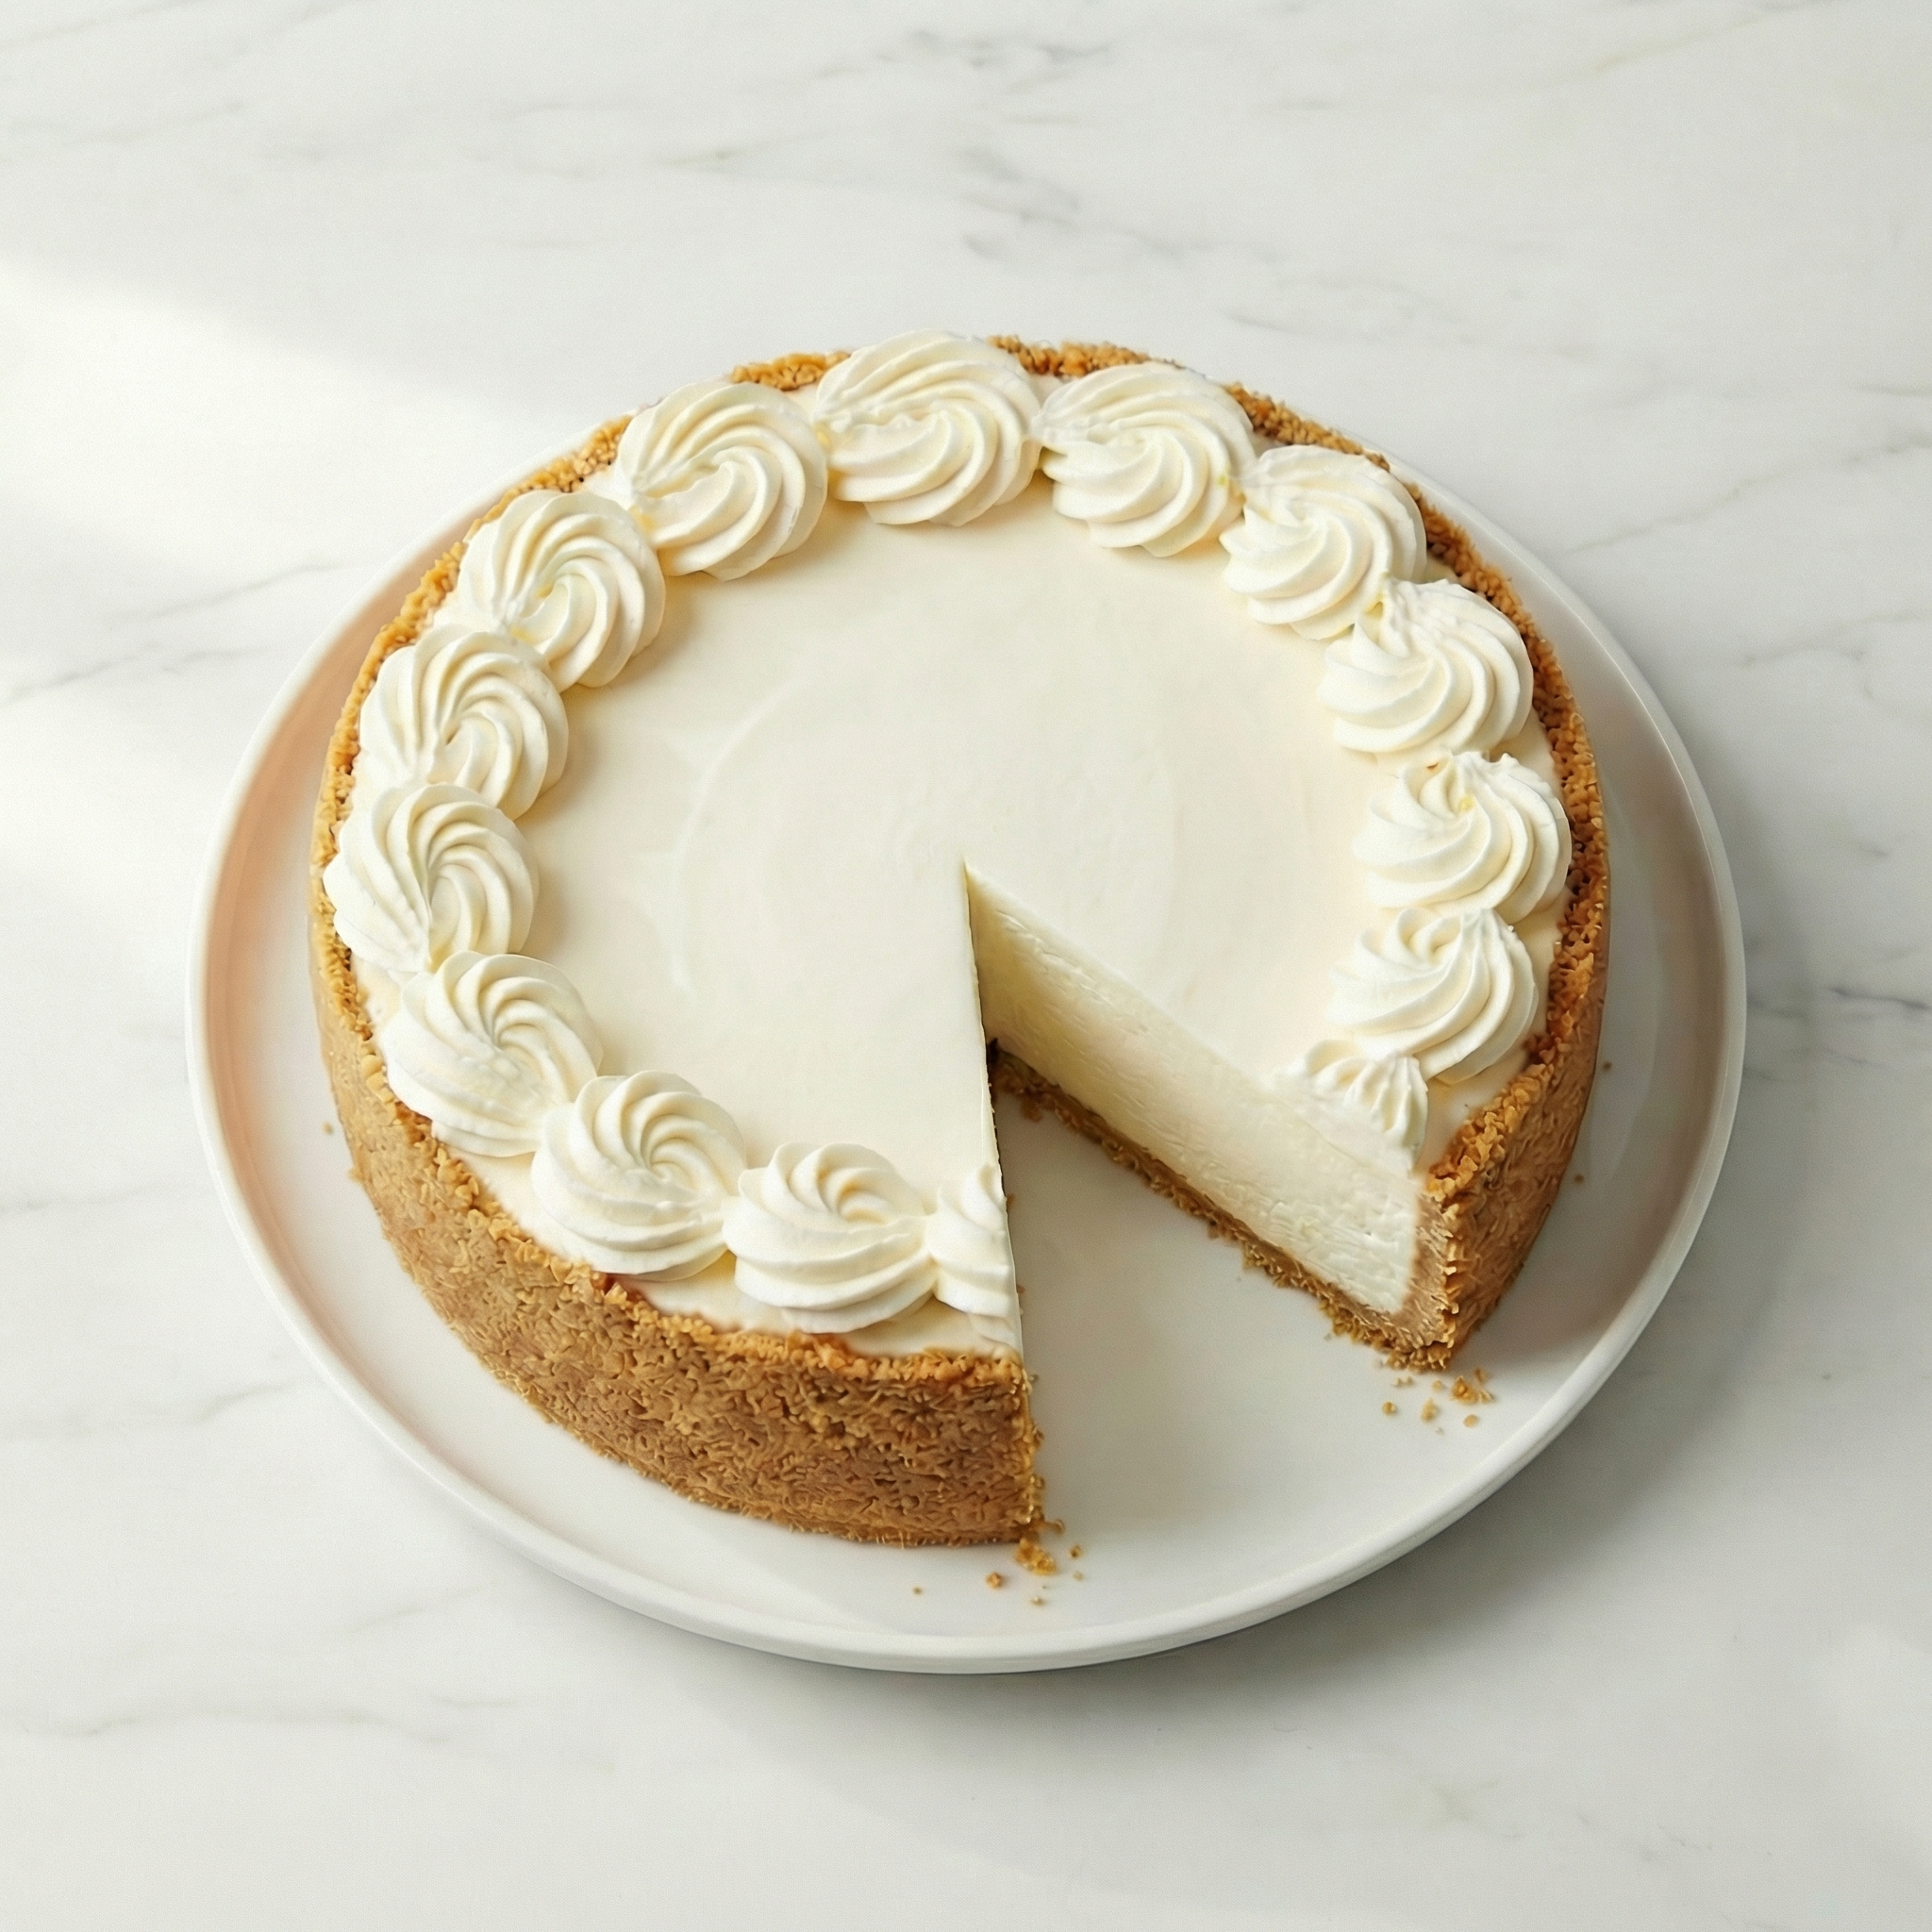
If you love rich, velvety cheesecake but don’t want to deal with water baths, cracked tops, or long baking times, this No-Bake Cheesecake is your dream dessert. It’s smooth, creamy, perfectly sweet, and sets beautifully in the refrigerator—no oven required.
This dessert is ideal for warm days, busy schedules, or anytime you need a guaranteed crowd-pleaser. With a buttery graham cracker crust and a luscious cream cheese filling, this no-bake version delivers all the indulgence of classic cheesecake with half the effort.
Let’s walk through it step by step.
Why You’ll Love This No-Bake Cheesecake
- No oven or water bath needed
- Beginner-friendly
- Make-ahead dessert
- Smooth, creamy texture
- Easily customizable with toppings
The secret to a perfect no-bake cheesecake is proper whipping and enough chill time. Patience makes all the difference.
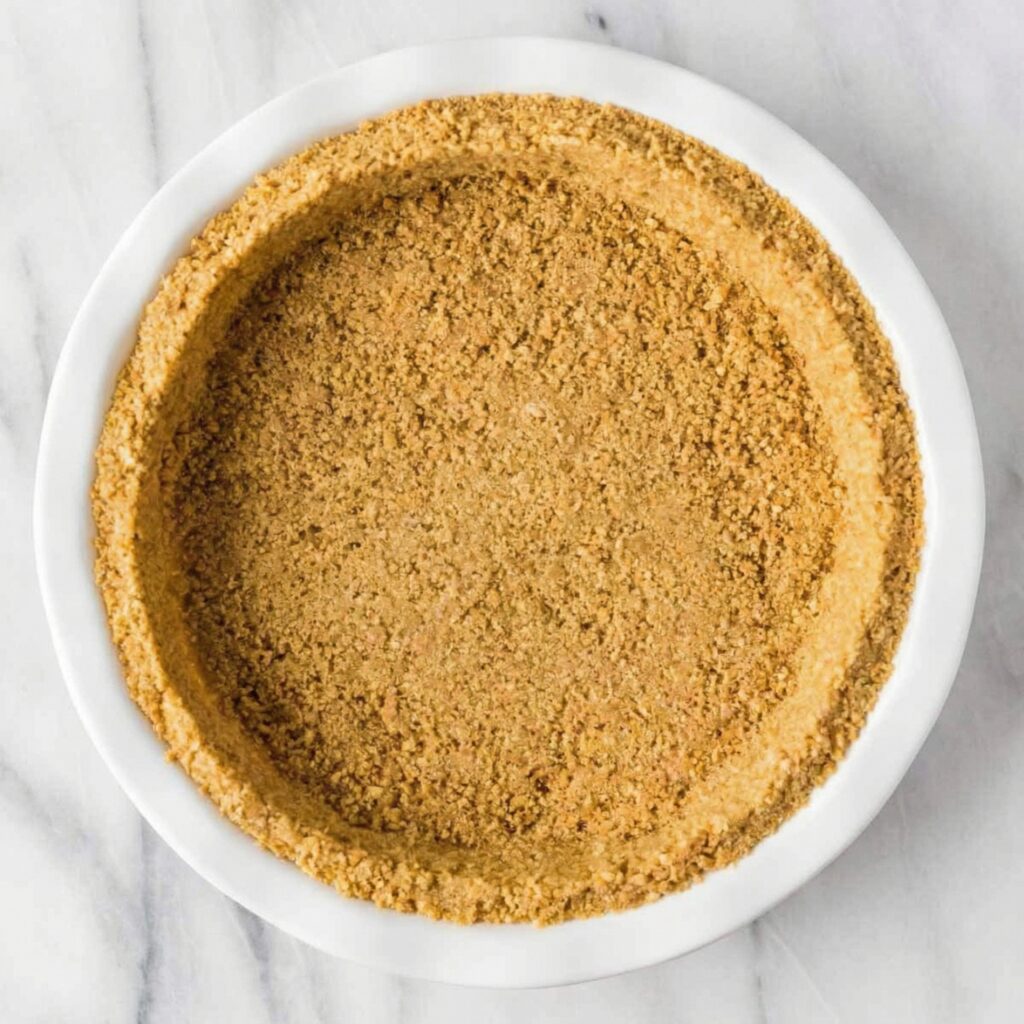
Prepare the Crust
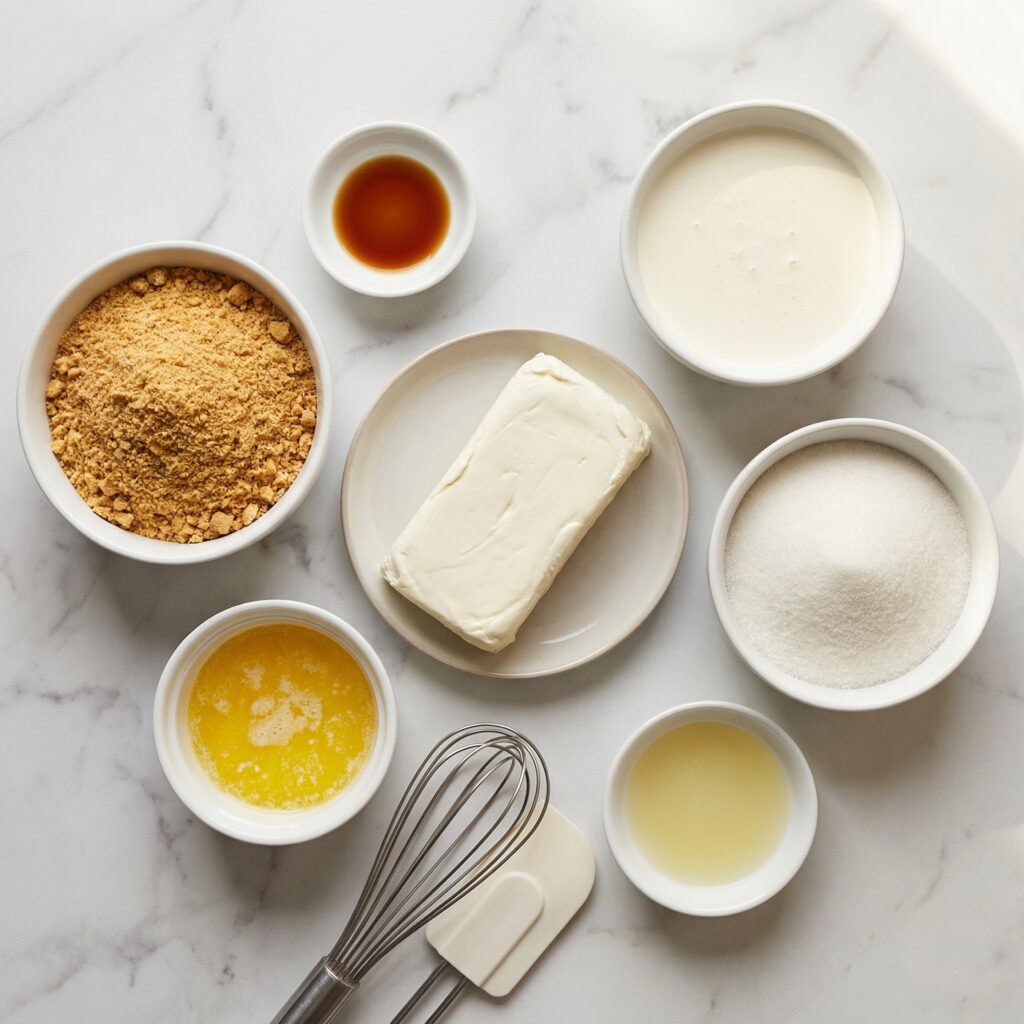
In a medium bowl, combine graham cracker crumbs, melted butter, and sugar. Stir until the mixture resembles damp sand and holds together when pressed.
Press the mixture firmly into the bottom of a 9-inch springform pan. Use the back of a spoon or the bottom of a measuring cup to pack it down tightly and evenly.
Place the crust in the refrigerator for at least 30 minutes to firm up while you prepare the filling.
Tip: Press firmly—this prevents the crust from crumbling when sliced.
Beat the Cream Cheese
In a large mixing bowl, beat the softened cream cheese until completely smooth and creamy. This step is crucial—any lumps now will remain in the final cheesecake.
Make sure your cream cheese is fully at room temperature before mixing.
Add the powdered sugar and beat until smooth and fluffy. Scrape down the sides of the bowl as needed.
Add Vanilla and Lemon Juice
Mix in the vanilla extract and lemon juice (if using). The lemon juice doesn’t make the cheesecake taste lemony—it simply balances the sweetness and enhances flavor.
Beat until fully incorporated.
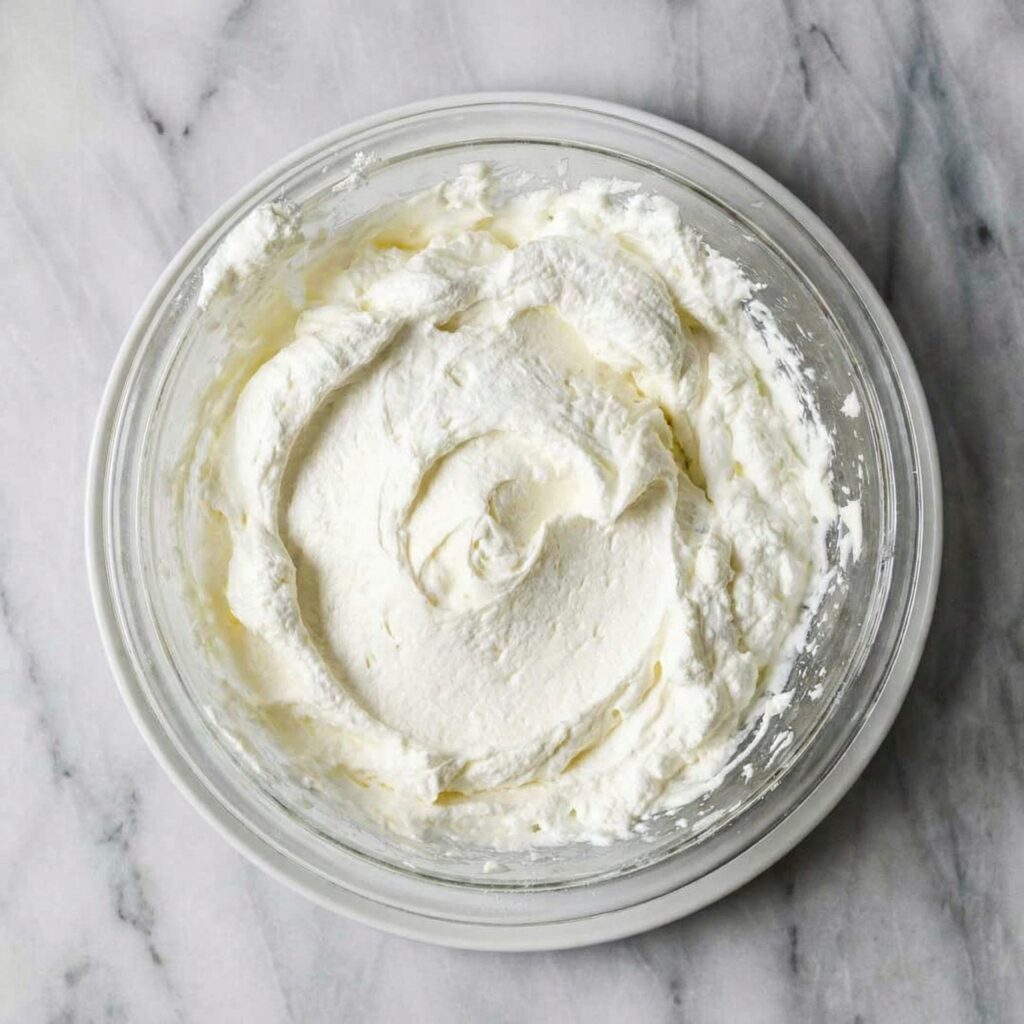
Whip the Cream
In a separate chilled bowl, pour in the cold heavy whipping cream. Beat on medium-high speed until stiff peaks form.
Stiff peaks mean that when you lift the beaters, the cream stands upright without collapsing.
Be careful not to overwhip, as it can turn grainy.
Fold the Whipped Cream Into the Filling
Using a spatula, gently fold the whipped cream into the cream cheese mixture.
Do this slowly and carefully to keep the mixture light and airy. Overmixing can deflate the whipped cream and make the cheesecake dense.
The final filling should be thick, smooth, and fluffy.
Fill the Crust
Remove the chilled crust from the refrigerator.
Spoon the cheesecake filling into the crust and spread evenly. Smooth the top with a spatula, creating a flat or slightly swirled surface.
Tap the pan gently on the counter to remove air pockets.
Chill Until Firm
Cover the cheesecake with plastic wrap and refrigerate for at least 6 hours, though overnight is best.
This chilling time allows the filling to fully set and develop structure. Rushing this step can result in a soft or messy slice.
If you’re short on time, you can place it in the freezer for 1–2 hours to speed up setting—but transfer it back to the refrigerator before serving.
Add Toppings
Once fully set, remove the cheesecake from the springform pan by carefully releasing the sides.
Top with your favorite additions:
- Fresh strawberries or blueberries
- A glossy cherry topping
- Drizzled caramel or chocolate sauce
- Crushed cookies or shaved chocolate
Keep toppings light and balanced so they complement the creamy base.
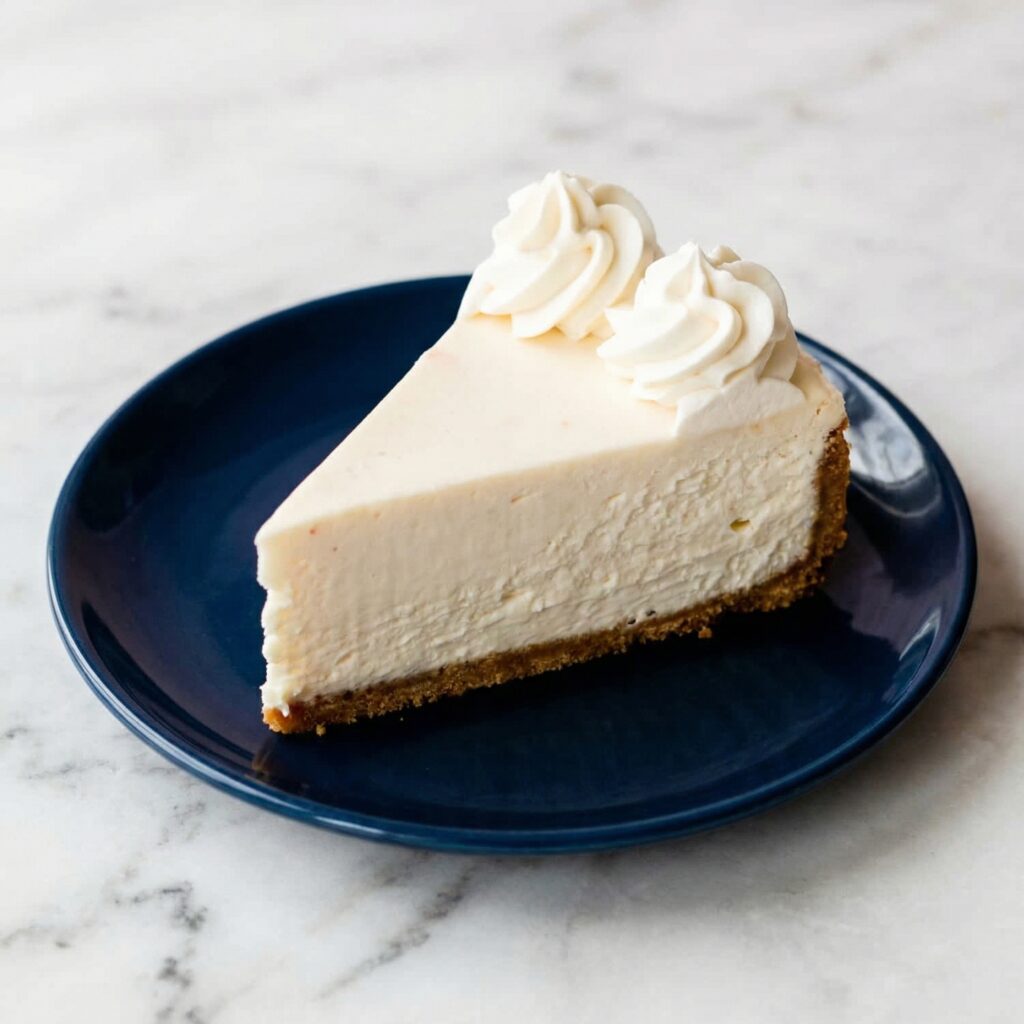
Slice and Serve
Use a sharp knife dipped in warm water for clean slices. Wipe the blade between cuts for neat presentation.
Each slice should hold its shape while remaining creamy and smooth inside.
Serve chilled for the best texture.
Tips for the Perfect No-Bake Cheesecake
- Use full-fat cream cheese for the best texture.
- Ensure cream cheese is completely softened before mixing.
- Chill thoroughly—overnight is ideal.
- Don’t overwhip the cream.
- Fold gently to maintain airiness.
Storage and Make-Ahead
No-bake cheesecake can be stored in the refrigerator for up to 4 days, tightly covered.
It can also be frozen for up to 2 months. Wrap slices individually and thaw overnight in the refrigerator before serving.
This makes it perfect for preparing ahead of events or gatherings.
Flavor Variations
Want to change things up? Try:
- Mixing crushed Oreos into the filling
- Adding melted white chocolate for extra richness
- Swirling in peanut butter before chilling
- Adding fresh lemon zest for a citrus twist
The base recipe is versatile and easy to customize.
This No-Bake Cheesecake is proof that you don’t need complicated techniques to create an elegant dessert. With its buttery crust and silky filling, it’s rich yet light, simple yet impressive.
Whether you serve it plain or dressed up with toppings, it’s guaranteed to disappear quickly. Creamy, smooth, and perfectly sweet—this oven-free cheesecake might just become your new favorite go-to dessert.