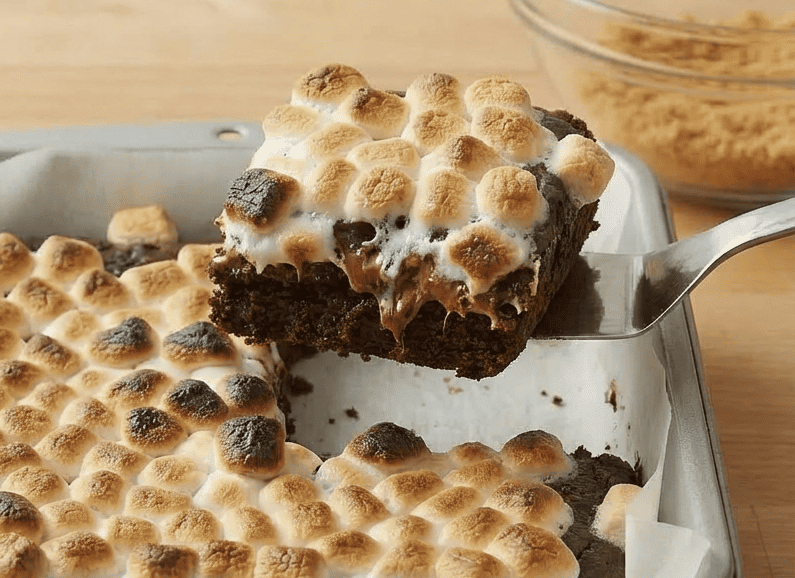
Capture the magic of a campfire s’more in a handheld, decadent brownie square. These S’mores Brownies are a masterpiece of texture and flavor, combining a buttery graham cracker crust, a rich, fudgy chocolate brownie layer, and a blanket of toasted marshmallows that gets perfectly golden and gooey under the broiler. They deliver the nostalgic taste of summer nights in every bite, but are sophisticated enough for any bake sale, party, or indulgent treat.
The graham cracker base adds a necessary crunch and honeyed flavor that balances the intense chocolate, while the marshmallow topping provides a sweet, sticky contrast. They’re easier to make than you might think, and the impressive layered result is guaranteed to make you the most popular baker in the room.
The Science of Layered Texture & Perfect Toasting
The success of this dessert lies in building distinct layers that maintain their integrity while baking. The graham cracker crust is pre-baked (or “blind baked”) to set it firmly. This creates a barrier that prevents the wet brownie batter from soaking in and turning the crust soggy, ensuring it stays crisp.
The brownie layer uses a higher fat-to-flour ratio than cakey brownies, achieved with extra butter and chocolate. This, along with less leavening, creates a dense, fudgy texture that can support the weight of the marshmallow topping without collapsing.
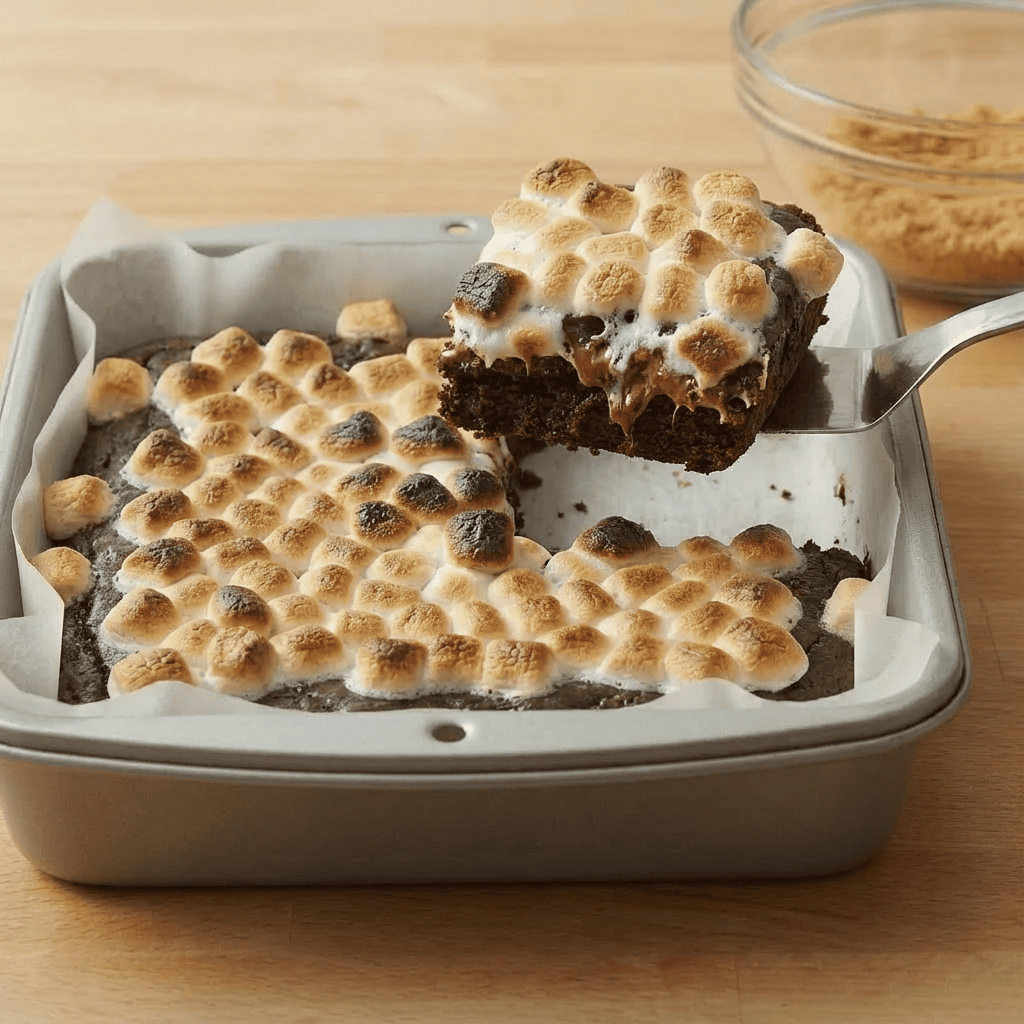
The final marshmallow toasting is a quick but crucial step. Placing the baked brownies under a high-heat broiler for just 1-2 minutes causes the Malliard reaction on the marshmallow surface, creating that signature campfire-toasted flavor and a crisp, golden shell, while the inside becomes irresistibly soft and sticky.
It’s a careful balance of timing and heat to achieve that perfect s’more experience.
Instructions
Prep
Preheat oven to 350°F (175°C). Line an 8×8 inch or 9×9 inch baking pan with parchment paper, leaving an overhang on two sides for easy removal.
Make the Crust
In a medium bowl, stir together graham cracker crumbs and sugar. Pour in the melted butter and mix until the crumbs are evenly coated and resemble wet sand. Press the mixture firmly and evenly into the bottom of the prepared pan. Bake for 8 minutes. Remove and let cool slightly while you make the brownie batter. Leave the oven on.
Make the Brownie Batter
In a heatproof bowl set over a saucepan of simmering water (double boiler), melt the butter and chopped chocolate together, stirring until smooth. Remove from heat and let cool slightly. Whisk in the sugar. Then whisk in the eggs, one at a time, followed by the vanilla. Gently fold in the flour and salt until just combined—do not overmix.
Assemble & Bake
Pour the brownie batter over the pre-baked graham cracker crust and spread evenly. Bake for 25-30 minutes (for an 8×8 pan) or 20-25 minutes (for 9×9), until the brownie is set around the edges but still slightly soft in the center. A toothpick inserted will have moist crumbs.
Add Marshmallows
Remove the pan from the oven. Immediately sprinkle the mini marshmallows (or arrange the halved large marshmallows) in an even layer over the hot brownies, covering the surface completely. If using, place pieces of Hershey’s chocolate bar on top of or between the marshmallows.
Toast the Top
Turn the oven to broil (or use a kitchen torch). Return the pan to the oven, watching CLOSELY. Broil for 1-3 minutes, rotating the pan if needed, until the marshmallows are puffed and toasted to a deep golden brown. This happens very quickly, so do not walk away!
Cool Completely
Place the pan on a wire rack and let the brownies cool completely (at least 2 hours). The marshmallow layer will firm up slightly as it cools, making them easier to slice.
Slice & Serve
Use the parchment overhang to lift the entire block out of the pan. Use a sharp knife lightly coated with cooking spray or dipped in hot water to cleanly slice through the marshmallow layer. Wipe the knife between cuts.
Store
Store in an airtight container at room temperature for up to 2 days. The marshmallows will stay soft but may become stickier over time.
Pro-Tips for Perfect, Gooey S’mores Brownies
- Pre-Bake the Crust: This step is non-negotiable for a crisp, non-soggy base.
- Cool Slightly Before Adding Marshmallows: Let the brownies cool for 5 minutes out of the oven before adding marshmallows. If they’re too hot, the marshmallows will melt into a liquid layer instead of toasting.
- Broiler Vigilance: The broiler step is a 60-second dance. Stay put and watch for color—they can go from perfect to burnt in seconds. A kitchen torch gives you more control.
- The Slice Trick: Slicing through marshmallows is messy. Use a sharp knife coated with non-stick spray or dipped in very hot water for clean cuts.
- For a Richer Brownie: Add ½ cup of chocolate chips to the batter before baking.
- Make Ahead: Bake and cool the brownies (without marshmallow topping), wrap tightly, and freeze for up to a month. Thaw, add marshmallows, and broil just before serving.
These S’mores Brownies are the ultimate celebration of chocolate, crunch, and gooey toasted goodness.